Snipping Tool is an application which comes already installed in Microsoft Windows and can be used to take screen captures, highlight section on captured image, add square box and save the image on desktop or copy paste it send it to someone or in email.
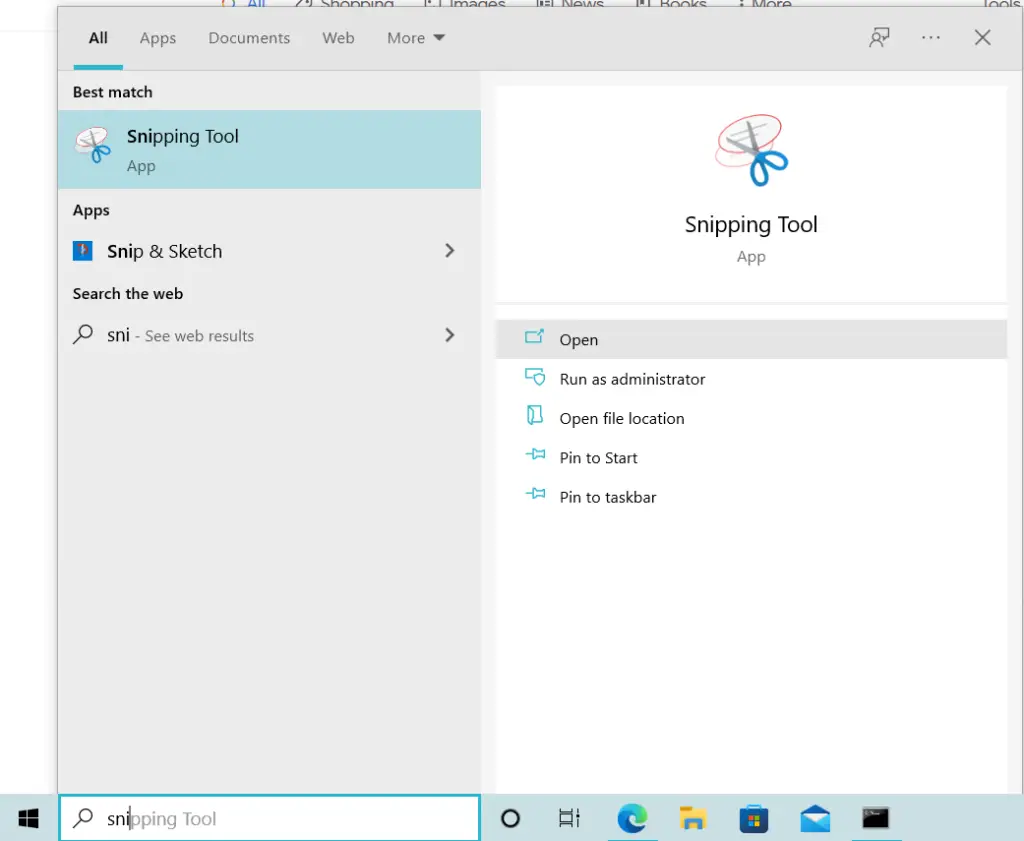
Type “Snipping Tool” in search window besides Start menu of windows to start the application.
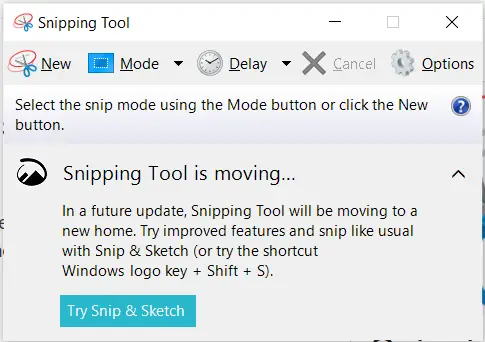
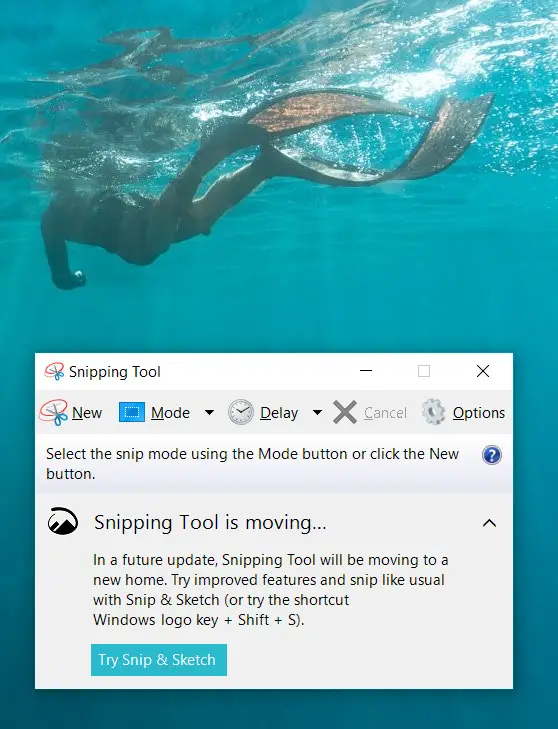
Once started, you will see the application window as below,
Move this application window to the place where you want to take screenshot of. Here as an example, we want to take screenshot of the image we seen on Desktop, so we moved the snipping tool window there. (You can also keep this app window anywhere, but for demonstration we moved to adjacent of background where we want to take screenshot)
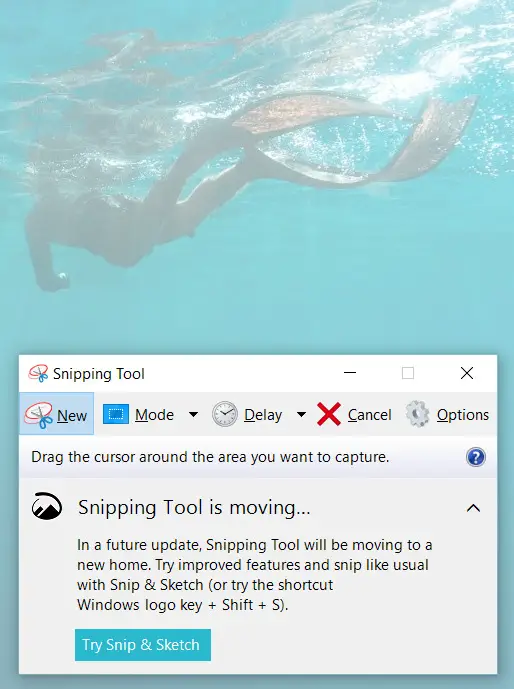
To take screenshot, click on “New” and you will see the background became blur as shown in below image. Now use the mouse pointer and draw the square around the place where we want to take screenshot and then release the mouse pointer.
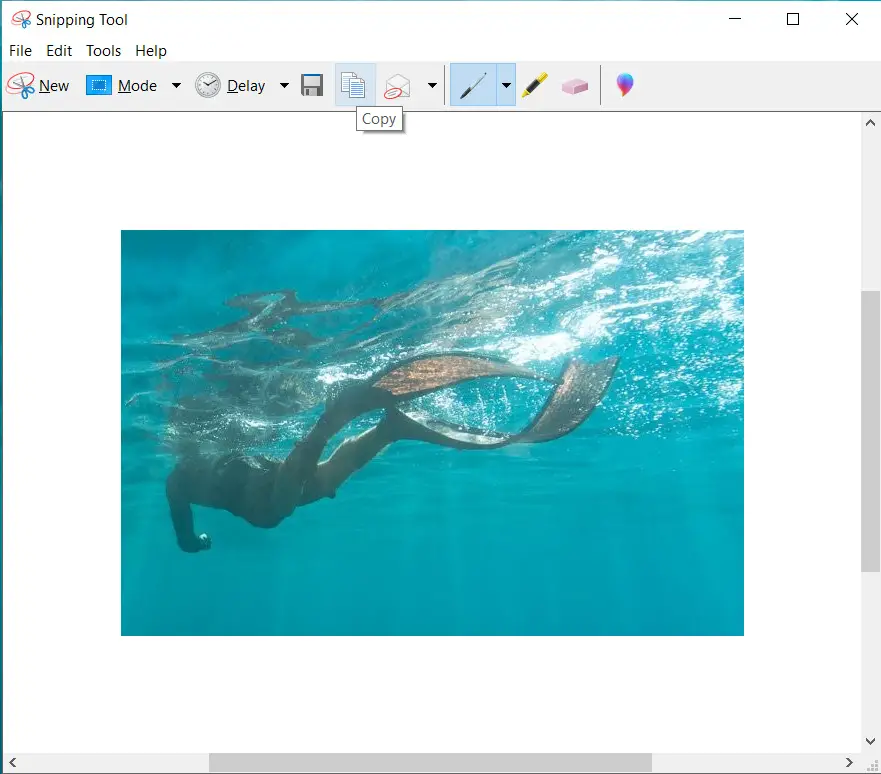
You can see, the Snipping Tool App Window opened as below. Here you can use, pen, highlighter to highlight something on screen or copy as shown and paste somewhere it is required. You can also save this image on Desktop.