TFTP (Trivial File Transfer Protocol) is a simple, lightweight file transfer protocol that operates over UDP. It is commonly used in environments where minimal overhead is needed, such as:
- Booting embedded systems or routers
- Transferring firmware or configuration files
- PXE boot setups
Unlike FTP or SCP, TFTP doesn’t require authentication and is ideal for local network use. In this guide, we’ll walk through how to install, configure, and run a TFTP server on Ubuntu.
✅ Step 1: Install TFTP Server Package
Ubuntu uses tftpd-hpa as a popular and stable TFTP server daemon.
sudo apt update
sudo apt install tftpd-hpa -y
Explanation:
tftpd-hpais a high-performance TFTP server implementation.- The
-yflag auto-confirms the installation.
After this, the service will be installed but may not be configured yet.
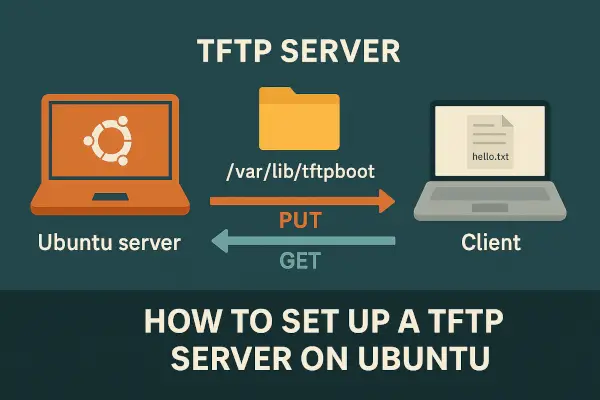
📁 Step 2: Create TFTP Root Directory
By default, TFTP stores and serves files from /var/lib/tftpboot. You can use this or define your own.
sudo mkdir -p /var/lib/tftpboot
sudo chmod -R 777 /var/lib/tftpboot
sudo chown -R nobody:nogroup /var/lib/tftpboot
Explanation:
mkdircreates the TFTP directory.chmod 777gives read, write, and execute access (use with care on trusted networks).nobody:nogroupis the user TFTP runs as—ensures permission alignment.
⚙️ Step 3: Configure TFTP Settings
Edit the default configuration file:
sudo nano /etc/default/tftpd-hpa
Update the file with the following content:
TFTP_USERNAME="tftp"
TFTP_DIRECTORY="/var/lib/tftpboot"
TFTP_ADDRESS="0.0.0.0:69"
TFTP_OPTIONS="--secure --create"
Explanation of options:
TFTP_USERNAME: runs TFTP as this user.TFTP_DIRECTORY: sets the root directory.TFTP_ADDRESS: binds to all interfaces on port 69.--secure: limits access to the root directory.--create: allows uploading files usingput.
🔁 Step 4: Restart and Enable the TFTP Server
sudo systemctl restart tftpd-hpa
sudo systemctl enable tftpd-hpa
Explanation:
systemctl restartapplies new configuration.- enable ensures TFTP starts automatically on boot.
To check the server status:
sudo systemctl status tftpd-hpa
You should see Active: active (running).
✏️ Step 5: Test TFTP Server with Client
🖼 Upload File to Server (PUT)
First, install the TFTP client:
sudo apt install tftp -y
Create a test file:
echo "Hello from client" > hello.txt
tftp localhost
tftp> put hello.txt
tftp> quit
ls -l /var/lib/tftpboot
📥 Download File from Server (GET)
tftp localhost
tftp> get hello.txt
tftp> quit
Explanation:
These simple commands verify that both upload (put) and download (get) work.
🔒 Optional: Adjust Firewall Settings (UFW)
If you’re using a firewall like UFW, allow port 69/UDP:
sudo ufw allow 69/udp
🧠 Common Mistakes and Fixes
| Issue | Fix/Explanation |
|---|---|
Permission denied on upload | Use --create in config and set 777 permissions on TFTP root |
Connection timeout | Ensure server is running and port 69/UDP is open |
File not found on get | File must exist and be readable by tftp user |
tftp: command not found | Install client using sudo apt install tftp |
🧪 Use Case: Transfer Firmware to a Router
TFTP is widely used in flashing OpenWRT or DD-WRT firmware:
- Place the
.binfile into/var/lib/tftpboot - Connect the router and your PC on same network
- Use router’s firmware recovery or bootloader to pull file via TFTP
TFTP is simple, fast, and effective—especially for embedded systems, PXE booting, and network hardware. While it’s not secure for Internet use, it’s perfect for LAN environments where speed and simplicity matter.
With just a few steps, you can have a fully working TFTP server on Ubuntu ready to serve files to any client on your network.
Have you used TFTP to flash devices or configure networks? Share your workflow or any helpful scripts in the comments!
1 thought on “Setup TFTP Server on Ubuntu: Easy Guide to Configure, Start & Test”