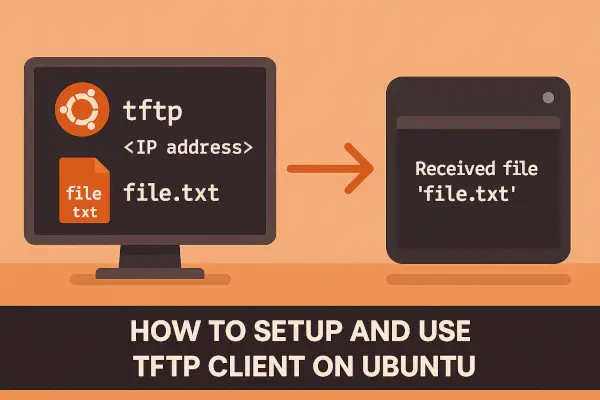
TFTP (Trivial File Transfer Protocol) is a lightweight, UDP-based file transfer protocol often used for booting devices, flashing firmware, or transferring files to routers, embedded devices, and switches.
While FTP and SCP are more common for general file transfers, TFTP is ideal when:
- Devices have limited resources (e.g., routers, embedded boards)
- You need to push firmware or config files during boot
- Simplicity and speed are more important than security
This tutorial covers everything you need to install, configure, and use the TFTP client on Ubuntu, with examples.
✅ Step 1: Install TFTP Client on Ubuntu
Use the following command to install the TFTP client:
sudo apt update
sudo apt install tftp -y
Explanation:
tftpis the command-line client used to connect to a remote TFTP server.aptinstall tftp fetches the tool from Ubuntu’s repositories.
After installation, you can confirm it using:
tftp --version
📘 Step 2: Check or Install a TFTP Server (Optional for Testing)
If you don’t already have a TFTP server to connect to, install one locally for testing:
sudo apt install tftpd-hpa -y
Then configure it in /etc/default/tftpd-hpa:
TFTP_USERNAME="tftp"
TFTP_DIRECTORY="/var/lib/tftpboot"
TFTP_ADDRESS="0.0.0.0:69"
TFTP_OPTIONS="--secure"
Restart the service:
sudo systemctl restart tftpd-hpa
Explanation:
- This creates a server that listens on port 69 and stores files in
/var/lib/tftpboot. - Use this setup if you want to test your client locally or use it to push files to another device.
✏️ Step 3: Use TFTP Client to Send or Receive Files
📤 To Upload a File (Put Operation)
tftp <server-ip>
tftp> put test.txt
tftp> quit
Explanation:
- Replace
<server-ip>with the IP address of the TFTP server. - The
putcommand uploads the filetest.txtto the server’s TFTP directory.
To make this work, ensure:
test.txtis in your current local directory.- You have write permissions on the TFTP server directory.
📥 To Download a File (Get Operation)
tftp <server-ip>
tftp> get firmware.bin
tftp> quit
Explanation:
- Downloads
firmware.binfrom the server’s TFTP directory to your local machine. - The file must exist and be readable by the TFTP server.
🔄 Alternative: Use Non-Interactive Mode (One-liner)
To upload a file non-interactively:
echo -e "put file.txt\nquit" | tftp <server-ip>
Or to download:
echo -e "get firmware.bin\nquit" | tftp <server-ip>
Explanation:
This pipes commands to the tftp client, automating the process in shell scripts or CI pipelines.
⚠️ Common Issues and Fixes
| Issue | Solution |
|---|---|
| Permission Denied (Put) | Ensure directory is writable and server is running with correct user |
| File Not Found (Get) | File must exist in TFTP root directory and be readable |
| Timeouts or No Response | Check firewall (port 69/UDP), and ensure server is listening |
| No Logging | TFTP is minimal; use tcpdump or journalctl -u tftpd-hpa to debug |
To check server logs:
sudo journalctl -u tftpd-hpa
To debug packets:
sudo tcpdump -i any port 69
🧠 Best Practices for TFTP Usage
- Use TFTP only on trusted networks; it’s insecure by design (no encryption).
- For IoT or embedded board booting, keep the TFTP root directory organized by device type.
- Disable TFTP server when not in use to avoid security risks.
- For large files, consider FTP/SCP unless the device only supports TFTP.
🧪 Use Case: Flashing a Firmware to a Router via TFTP
- Place the firmware file in your TFTP server directory.
- Connect to the router’s TFTP client interface (usually via serial or web UI).
- Start the file transfer using the
getcommand from the router.
This process is common in OpenWRT/LEDE or when recovering soft-bricked devices.
Setting up and using a TFTP client in Ubuntu is simple, fast, and incredibly useful when working with low-level hardware, embedded systems, and firmware flashing workflows.
With just a few commands, you can send and receive files to and from devices with minimal overhead. Just remember to use TFTP in secure environments only due to its lack of authentication and encryption.
Have you used TFTP for flashing a device or configuring embedded systems?
Share your experience or any tweaks you’ve made to the setup—we’d love to learn from your workflow!
