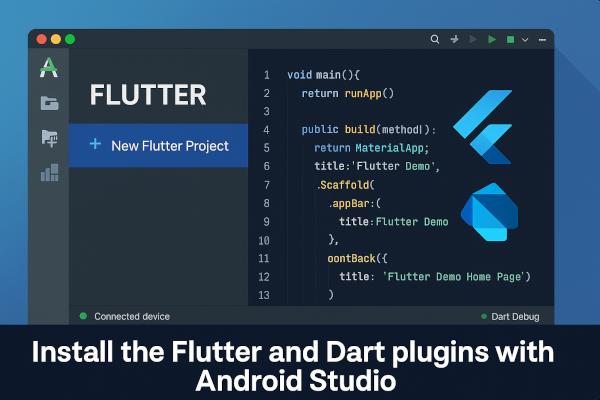
Android Studio is a powerful IDE (Integrated Development Environment) built on IntelliJ, optimized for Android and Flutter development. To build Flutter apps in Android Studio, you need to install two plugins:
- The Flutter plugin: for Flutter project creation, emulator integration, hot reload, etc.
- The Dart plugin: for Dart language support (used by Flutter).
This guide will walk you through:
- Installing Android Studio
- Setting up Flutter and Dart plugins
- Verifying your installation
- Creating your first Flutter project
🛠 Prerequisites
Before we begin:
- Download and install Android Studio
- Install Flutter SDK
- Set your Flutter environment variable:
export PATH="$PATH:/path-to-flutter/bin"Add the above line to your.bashrc,.zshrc, or.profileto make it permanent.
📦 Step 1: Open Android Studio Plugin Manager
- Launch Android Studio
- Go to the top menu:
File → Settings → Plugins (or on macOS: Android Studio → Preferences → Plugins) - Click on the Marketplace tab
🔍 Step 2: Install Flutter Plugin
- In the Marketplace, search for
Flutter - Click Install
- It will prompt to install the Dart plugin (required)
- Confirm and click Install All
After installation, click Restart IDE to apply changes.
Explanation:
The Flutter plugin integrates the Flutter SDK into Android Studio, providing tools like hot reload, project templates, device management, and Flutter-specific UI builders.
✅ Step 3: Verify Plugin Installation
- Open Android Studio → New Project
- You should now see Flutter as one of the project options
- Alternatively, go to File → New → New Flutter Project
If it’s visible, the plugin is installed successfully.
🏗️ Step 4: Configure Flutter SDK Path
When creating a new Flutter project, Android Studio will ask you for the Flutter SDK path.
Set it to the directory where you extracted or cloned Flutter:
/path-to-your/flutter
Example:/home/yourname/development/flutter on LinuxC:\src\flutter on Windows
This path is stored in Android Studio for future use.
🚀 Step 5: Create a New Flutter Project
- Go to File → New → New Flutter Project
- Choose Flutter Application
- Enter:
- Project name (e.g.,
flutter_demo) - Project location
- Flutter SDK path (if not auto-filled)
- Description
- Project name (e.g.,
- Click Next
- Choose a project package name like
com.example.flutterdemo - Click Finish
Android Studio will now generate your Flutter project.
🧪 Step 6: Run Your First Flutter App
- Make sure a device (emulator or physical) is connected
- Click the green run button (▶️) or use:
flutter run
You’ll see a demo counter app appear on the device.
🧹 Optional: Check Plugin Versions via Terminal
To verify your installation, open a terminal and run:
flutter doctor
Sample Output:
[✓] Flutter (Channel stable, 3.x.x)
[✓] Android toolchain
[✓] Android Studio (installed)
[✓] Connected device
If Flutter and Dart plugins are installed correctly, Flutter Doctor will show green ticks.
Installing Flutter and Dart plugins in Android Studio is the first step to building beautiful cross-platform apps. With Android Studio, you benefit from:
- Built-in emulator
- Hot reload support
- Debugging and profiling tools
- IntelliSense and smart code completion for Dart
This setup works seamlessly for both Android and iOS development (when Xcode is installed on macOS).
Did this guide help you set up Flutter and Dart in Android Studio?
Share your first app or any setup issues in the comments—we’re happy to help! 👇