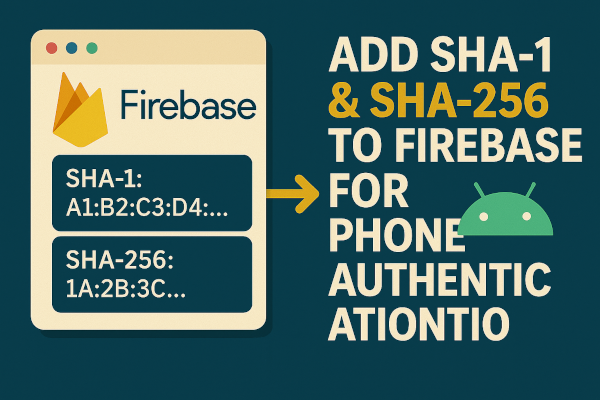
If you’re using Firebase Phone Authentication in your Android app, Firebase needs to verify your app’s identity through SHA-1 and SHA-256 certificate fingerprints. These keys are essential to ensure secure communication between Firebase and your mobile app—especially for Google Sign-In and OTP verification.
In this step-by-step guide, you’ll learn:
- What SHA keys are
- How to find SHA-1 & SHA-256 in Android Studio or terminal
- How to add them to your Firebase project
🧠 What are SHA-1 and SHA-256?
SHA (Secure Hash Algorithm) keys are unique signatures generated from your app’s signing certificate.
Firebase uses them to verify that the app making a request is genuinely your app.
- SHA-1: Needed for Google Sign-In, Phone Authentication, and Dynamic Links
- SHA-256: Needed for Firebase App Check, Google Play Integrity API, and enhanced security
🛠️ Step-by-Step: How to Get SHA-1 and SHA-256 Fingerprints
✅ Option 1: Using Android Studio (Easiest)
- Open your project in Android Studio
- Click on Gradle tab (right panel)
- Expand:
:app > Tasks > android > signingReport - Double-click signingReport
In the output window (at the bottom), you will see entries like:
SHA1: A1:B2:C3:D4:...
SHA-256: 1A:2B:3C:...
🔐 These keys will appear for both
debugandreleasebuilds.
✅ Option 2: Using Terminal or Command Line
Run the following command:
./gradlew signingReport
Or on Windows:
gradlew signingReport
Make sure you’re in the root directory of your Android project.
🧩 Step-by-Step: Add SHA Keys to Firebase Console
- Go to Firebase Console
- Select your project
- Navigate to:
Project Settings > General > Your apps > Android App - Click Add Fingerprint
- Paste your SHA-1 or SHA-256
- Click Save
⚠️ After saving, re-download the google-services.json file and place it in your /app directory if needed.
📞 Enable Phone Authentication in Firebase
To use Phone Number OTP authentication:
- Go to Firebase Console
- Click Authentication > Sign-in Method
- Enable Phone
- Save changes
You can also add test phone numbers for debugging.
🔄 Pro Tip: Use Release Keystore for Production
For production APKs, generate SHA keys using your release keystore:
keytool -list -v -keystore path-to-keystore -alias your-key-alias -storepass password -keypass password
⚠️ Common Errors & Fixes
| Error | Solution |
|---|---|
| Firebase OTP not sent | Missing SHA-1 key in console |
| App not verifying after OTP | Incorrect or missing google-services.json |
| Build fails after adding keys | Sync Gradle and clean build |
Adding your app’s SHA-1 and SHA-256 to Firebase is non-negotiable for enabling secure phone authentication and other advanced Firebase features. Without them, OTP services, Google sign-ins, and backend verification simply won’t work.
Now that you’ve learned how to extract and add these keys, your Firebase authentication setup will be smooth and secure!
Was this guide helpful for your Android + Firebase setup?
Leave a comment below if you faced any issues—we’re here to help developers build secure apps! 🔐📱

Hello,
I developed a chat app in android studio, and added SHA1 and SHA256. it works on my mobile to send otp, but when i create APK file, and click to send otp, it shows error,
`this app is not authorized to use firebace authentication. Please, verify correct package name and SHA1 are configured in firebase console. (a safty net token was passed, but no matching SHA256 was registered firebase console. Please make sure that this application’s package name/SHA256 pair is registered in the firebace console.’
I check package name is correct and SHA1
& SHA256 pasted.
what is problem there. Please help me.
hi , I try to learn flutter and firebase , I have a problem with app check service in firebase, when I set SHA-256 and click to save it , firebase give a notification about :an error occurred when accepting terms of service, how can find why I faced this error