Django is a high-level Python web framework that allows rapid development and clean, pragmatic design. If you’re new to Django, starting your first project and running a webserver might seem daunting, but it’s simpler than it looks. In this guide, we will walk you through the process of setting up your first Django project and starting the development webserver.
1. Setting Up Your Development Environment
Before starting, ensure you have Python installed on your machine. Django requires Python 3.6 or higher.
1.1. Install Python
Download and install Python from the official website.
1.2. Install Django
You can install Django using pip, the Python package installer. Open your terminal and run:
pip install django2. Creating Your First Django Project
Once Django is installed, you can create your first project.
2.1. Start a New Project
Use the django-admin command to create a new project:
django-admin startproject myfirstprojectThis command creates a new directory named myfirstproject with the following structure:
myfirstproject/
    manage.py
    myfirstproject/
        __init__.py
        settings.py
        urls.py
        wsgi.py
        asgi.py
2.2. Navigate to Your Project Directory
Change into your project directory:
cd myfirstproject3. Creating Your First Django App
Django projects are composed of multiple apps. An app is a web application that does something, like a blog or a simple poll.
3.1. Start a New App
Run the following command to create a new app called myapp:
python manage.py startapp myappThis command creates a new directory named myapp with the following structure:
myapp/
    __init__.py
    admin.py
    apps.py
    models.py
    tests.py
    views.py
3.2. Register Your App
To use your new app, you need to add it to the INSTALLED_APPS list in your project’s settings file (settings.py):
INSTALLED_APPS = [
    ...
    'myapp',
]
4. Configuring Your First View
A view function is a Python function that receives a web request and returns a web response.
4.1. Create a View
Open myapp/views.py and add the following code:
from django.http import HttpResponse

def home(request):
    return HttpResponse("Hello, world! This is your first Django project.")
4.2. Map the View to a URL
Create a urls.py file in the myapp directory and add the following code:
from django.urls import path
from . import views

urlpatterns = [
    path('', views.home, name='home'),
]
Next, include this URL configuration in the project’s urls.py:
from django.contrib import admin
from django.urls import include, path

urlpatterns = [
    path('admin/', admin.site.urls),
    path('', include('myapp.urls')),
]
5. Running the Development Server
Now that your project and app are set up, you can run the development server.
5.1. Start the Server
In your terminal, run:
python manage.py runserverWatching for file changes with StatReloader
Performing system checks...
System check identified no issues (0 silenced).
June 06, 2020 - 17:14:16
Django version 3.0.7, using settings 'my_django_project.settings'
Starting development server at http://127.0.0.1:8000/
Quit the server with CONTROL-C.As we can see now, server is started with binding to your local loopback IP address and default port as,
Starting development server at http://127.0.0.1:8000/Now, it we want to change the IP address and Port where you need to start the server, it can be done as,
$ python manage.py runserver YOUR_CUSTOM_IP_ADDRESS:YOUR_CUSTOM_PORThere, you may get an error like “Solved: Django error Invalid HTTP_HOST header: ‘192.168.0.103:8080’. You may need to add ‘192.168.0.103’ to ALLOWED_HOSTS.” refer the post to change ALLOWED_HOSTS from your projects/settings.py
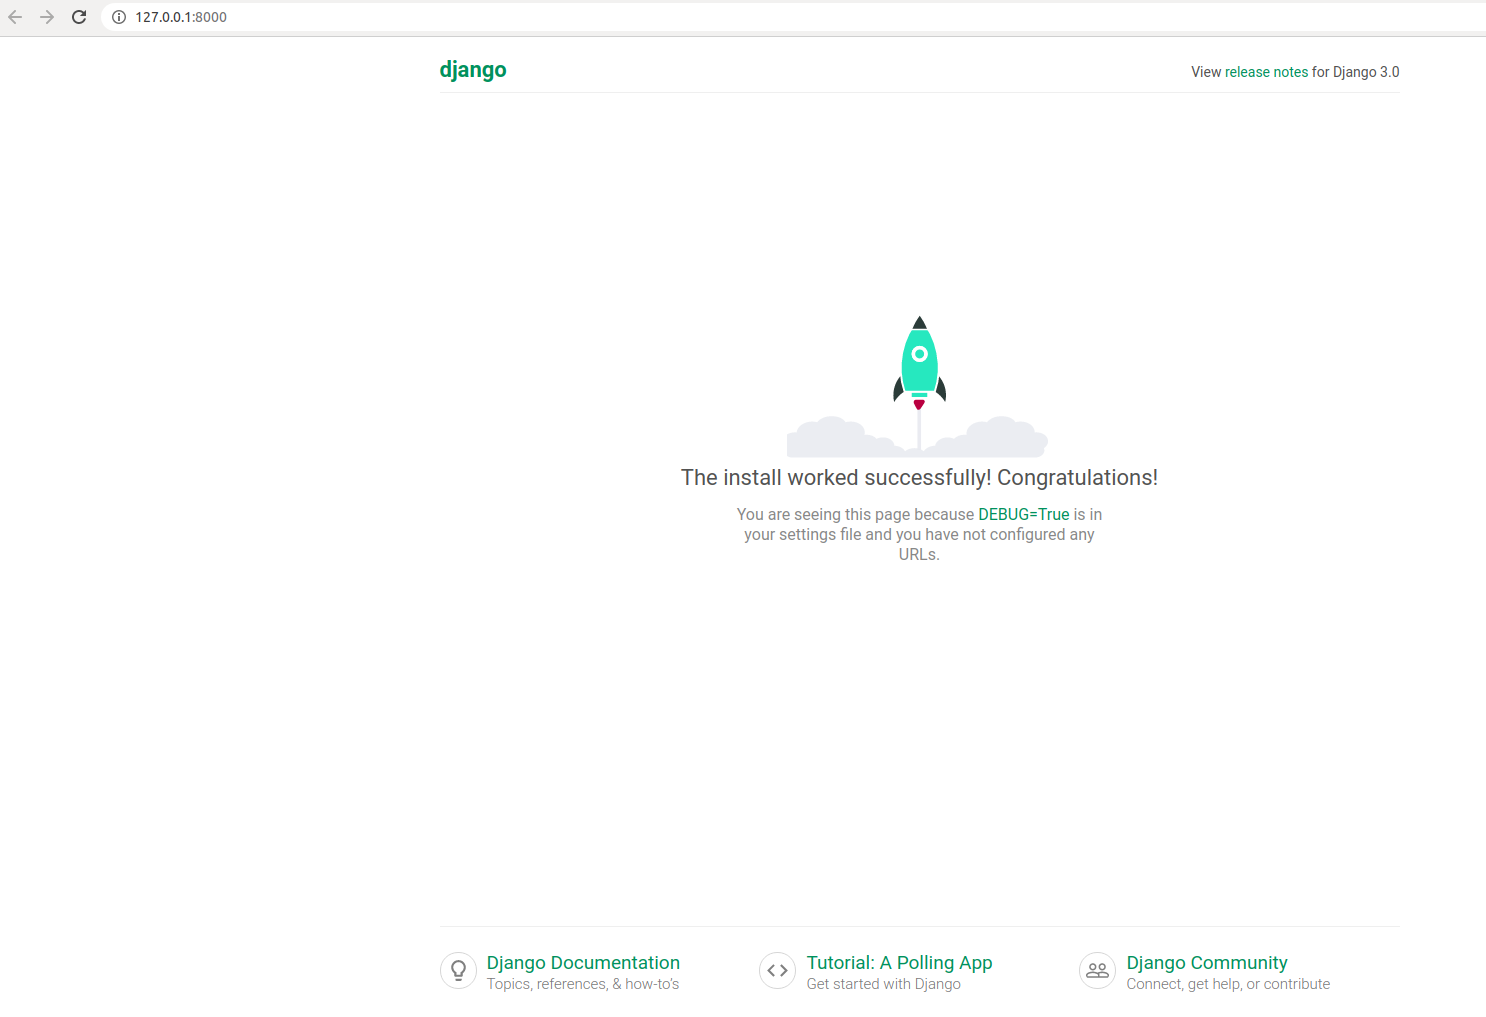
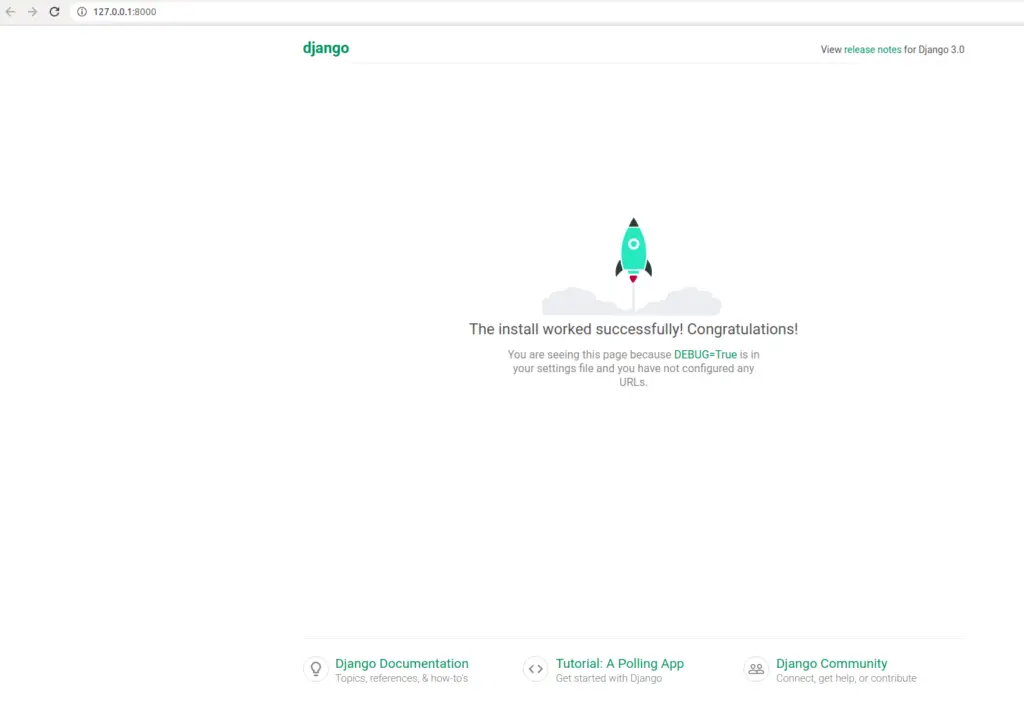
Finally, you are ready with your first django project and the webserver is up and running which you can verify by visiting http://127.0.0.1:8000/ and you should see the page as below,
6. Troubleshooting and Next Steps
If you encounter any errors, check the console output for debugging information. The Django documentation is also a great resource for resolving common issues.
Once your server is running, you can start building out your app by adding more views, templates, and models.
Conclusion
Starting your first Django project and running the development webserver is a straightforward process. By following the steps outlined in this guide, you can set up your development environment, create a new Django project and app, configure views and URLs, and start the development server. This is the first step towards building robust web applications with Django.
For writing the Django application, visit “Writing first Django Application”
3 thoughts on “Starting Your First Django Project: Running a Webserver Step-by-Step”