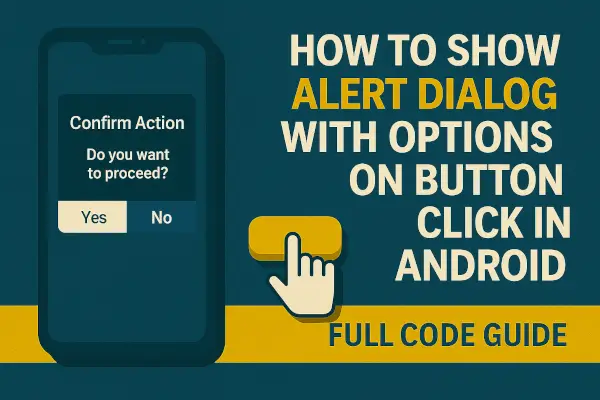
AlertDialogs are one of the most commonly used UI elements in Android apps. Whether you’re prompting the user for confirmation, presenting a decision, or showing information—Alert Dialogs with options make your app interactive and user-friendly.
In this tutorial, you’ll learn how to:
- Create an AlertDialog
- Show it when a button is clicked
- Add options like Yes, No, Cancel
- Handle each button click individually
🔧 Step-by-Step: Show Alert Dialog on Button Click
✅ Step 1: Create a Button in Your Layout
res/layout/activity_main.xml
<Button
    android:id="@+id/showDialogButton"
    android:layout_width="wrap_content"
    android:layout_height="wrap_content"
    android:text="Show Dialog"
    android:layout_gravity="center"/>
✅ Step 2: Show AlertDialog with Options (Java)
MainActivity.java
import android.app.AlertDialog;
import android.content.DialogInterface;
import android.os.Bundle;
import android.widget.Button;
import androidx.appcompat.app.AppCompatActivity;

public class MainActivity extends AppCompatActivity {

    @Override
    protected void onCreate(Bundle savedInstanceState) {
        super.onCreate(savedInstanceState);
        setContentView(R.layout.activity_main);

        Button showDialogButton = findViewById(R.id.showDialogButton);

        showDialogButton.setOnClickListener(view -> {
            AlertDialog.Builder builder = new AlertDialog.Builder(MainActivity.this);
            builder.setTitle("Confirm Action");
            builder.setMessage("Do you want to proceed?");

            builder.setPositiveButton("Yes", (dialog, which) -> {
                // handle yes
            });

            builder.setNegativeButton("No", (dialog, which) -> {
                // handle no
            });

            builder.setNeutralButton("Cancel", (dialog, which) -> {
                // handle cancel
            });

            AlertDialog dialog = builder.create();
            dialog.show();
        });
    }
}
🚀 Kotlin Version
MainActivity.kt
class MainActivity : AppCompatActivity() {
    override fun onCreate(savedInstanceState: Bundle?) {
        super.onCreate(savedInstanceState)
        setContentView(R.layout.activity_main)

        val showDialogButton: Button = findViewById(R.id.showDialogButton)

        showDialogButton.setOnClickListener {
            val builder = AlertDialog.Builder(this)
            builder.setTitle("Confirm Action")
            builder.setMessage("Do you want to proceed?")
            builder.setPositiveButton("Yes") { _, _ ->
                // handle yes
            }
            builder.setNegativeButton("No") { _, _ ->
                // handle no
            }
            builder.setNeutralButton("Cancel") { _, _ ->
                // handle cancel
            }
            builder.create().show()
        }
    }
}
🧠 Bonus Tips
- Use
setCancelable(false)to make the dialog non-dismissable by tapping outside. - You can customize the button color, icon, or add checkboxes inside the dialog using a custom layout.
🧩 Use Cases for Alert Dialogs
| Use Case | Benefit |
|---|---|
| Confirm Deletion | Avoid accidental data loss |
| Select User Preferences | Offer options before action |
| App Exit Confirmation | Improve user experience |
| Inform Users of Critical Info | Provide clear warnings or decisions |
Adding a click-to-show Alert Dialog is one of the simplest and most effective ways to interact with users in an Android app. It helps you build intuitive UI, reduce user error, and offer better control over app decisions.
With this tutorial, you’re now ready to:
- Trigger dialogs on any button
- Handle user decisions cleanly
- Create a modern Android experience 🎯
Did this help you add dialog functionality?
What are you building with it? Drop your thoughts, questions, or code tweaks in the comments! 💬👇
