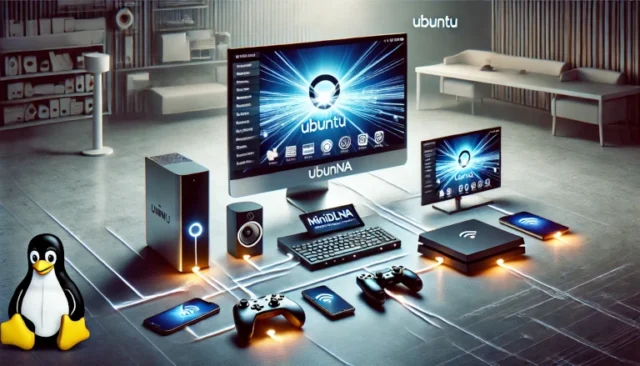
MiniDLNA is server software with the aim of being fully compliant with DLNA/UPnP clients. The MiniDNLA daemon serves media files (music, pictures, and video) to clients on a network. Example clients include applications such as totem and xbmc, and devices such as portable media players, smartphones, and televisions.
MiniDLNA is a simple, lightweight alternative to MediaTomb, but has fewer features. It does not have a web interface for administration and must be configured by editing a text file.
Setting up MiniDLNA (now ReadyMedia) on Ubuntu to act as a DLNA server is a straightforward process. MiniDLNA allows you to stream media content to compatible devices like smart TVs, gaming consoles, or smartphones.
Here’s how you can set up MiniDLNA on Ubuntu:
1. Update Your System
Before installing MiniDLNA, ensure your system is up-to-date.
sudo apt update && sudo apt upgrade -y
2. Install MiniDLNA
You can install MiniDLNA using the default Ubuntu repositories.
sudo apt install minidlna -y
3. Configure MiniDLNA
After installation, you need to configure the server.
- Edit the Configuration File: Open the configuration file located at
/etc/minidlna.conf.sudo nano /etc/minidlna.conf - Set the Media Directories: Add the paths to your media directories where your videos, music, or photos are stored. Use the following format:
media_dir=V,/path/to/videosfor videosmedia_dir=A,/path/to/musicfor audiomedia_dir=P,/path/to/photosfor pictures
media_dir=V,/home/username/Videos media_dir=A,/home/username/Music media_dir=P,/home/username/Pictures - Set the Network Interface: Specify the network interface for MiniDLNA to bind to. Typically, this will be
eth0for wired orwlan0for wireless.network_interface=eth0 - Set Other Parameters:
- Friendly Name: Assign a name to your server that will appear on DLNA clients.
friendly_name=My DLNA Server - Port: MiniDLNA uses port 8200 by default. You can leave this or change it.
- Friendly Name: Assign a name to your server that will appear on DLNA clients.
4. Start and Enable MiniDLNA
Start the MiniDLNA service and enable it to run on boot.
sudo systemctl start minidlna
sudo systemctl enable minidlna
5. Rescan the Media Database
To index your media files, you need to rebuild the database.
sudo minidlnad -R
sudo systemctl restart minidlna
6. Verify the MiniDLNA Server
- Open a web browser and visit the following URL to confirm the server is running:
http://<server-ip>:8200Replace<server-ip>with the IP address of your Ubuntu machine. - You should see the MiniDLNA web interface.
7. Connect DLNA Clients
- On your DLNA-compatible device (e.g., smart TV, media player, or phone), search for DLNA servers.
- Select the server named as per your
friendly_namesetting.
8. Optional: Troubleshooting
- Check Logs: View the MiniDLNA logs for issues.
sudo journalctl -u minidlna - Firewall: Ensure port 8200 and UDP ports are open if using a firewall.
sudo ufw allow 8200 sudo ufw allow 1900/udp
With MiniDLNA configured, your Ubuntu system is now a powerful DLNA media server!
