For installing skype on 64 bit Ubuntu, you can follow below simple steps to get everything installed and setup/configured so that you can start talking to your friend, professional customers over skype immediately 🙂
Visit Skype Website https://www.skype.com/en/get-skype/
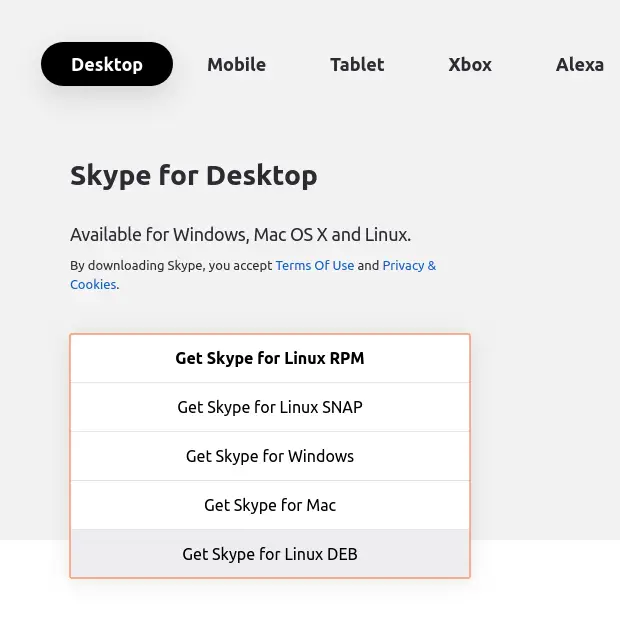
Click down arrow in front of “Get Skype for Linux” button and select “Get Skype for Linux DEB” as shown below,

Once download is complete, open the Linux command line / terminal, cd to the directory where you downloaded .deb file and type below command,
$ sudo dpkg -i skypeforlinux-64.debThat’s it and you have Skype installed on your Ubuntu Machine. You can check where skype binary is installed using “which” command.
$ which skypeforlinux
/usr/bin/skypeforlinux
Now, you can start the Skype from command line as below,
$ skypeforlinuxHow to Configure Skype first time after installation ?
Once you successfully install Skype, and start the application, you will need to login using username and password if you are already registered with Skype OR you can decide to create a new username/password using which you need to login.
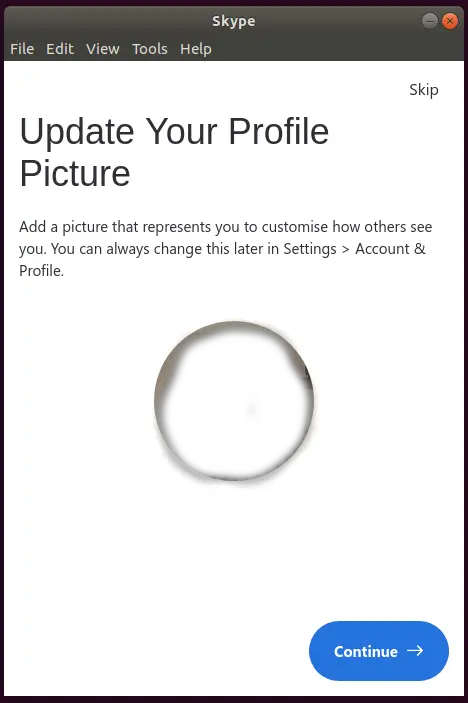
After login, in first window you can choose to upload your profile picture and click “Continue” or click on “Skip”

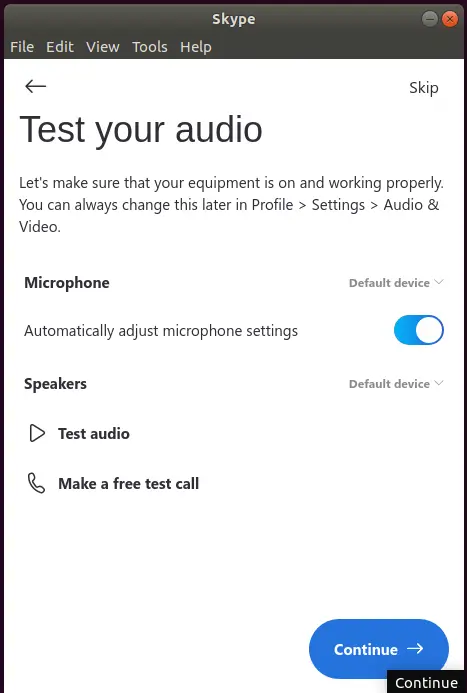
In the next opened window, you will need to make sure that your audio / microphone settings are fine so that other person can hear your voice.

Confirm that everything is fine by clicking on “Test audio” and “Make a free test call”.
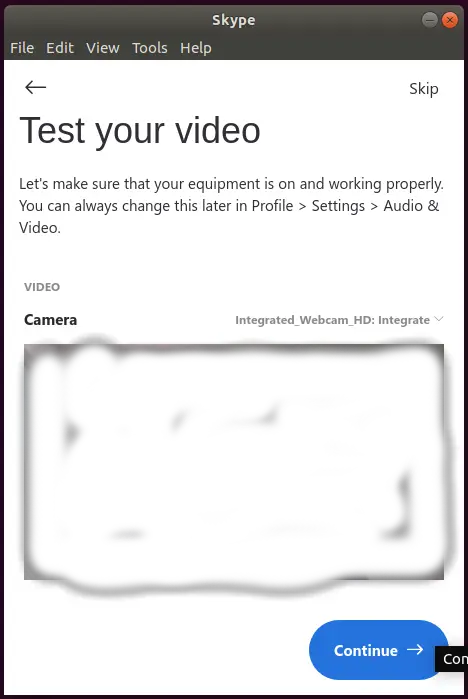
In the next window, make sure your camera is working fine.

You can also use Zoom for Audio / Video calls as mentioned in our another post “How to install Zoom Conference on Ubuntu ?”
1 thought on “How to Install Skype on Ubuntu 20.04 and 18.04 ?”