Apache is one of the most widely used web servers, known for its robustness and flexibility. This guide will walk you through the steps to install Apache WebServer on Ubuntu, ensuring your server is up and running in no time.
Prerequisites
- Ubuntu System: Ensure you have an Ubuntu system with sudo privileges.
- Internet Connection: Make sure your system is connected to the internet to download and install Apache.
Step-by-Step Installation Guide
- Update Your System:
Open the terminal and update your package list:
sudo apt update- Install Apache:
Install Apache using the following command:
sudo apt install apache2- Verify Apache Installation:
After installation, verify that Apache is running:
sudo systemctl status apache2You should see a message indicating that Apache is active and running.
- Adjust Firewall Settings:
Allow Apache through the firewall to ensure it can handle incoming requests:
   sudo ufw allow 'Apache'
sudo ufw status- Test Apache Installation:
Open a web browser and navigate tohttp://localhost/or your server’s IP address. You should see the Apache2 Ubuntu Default Page, confirming that Apache is installed and working. - Basic Configuration:
- Apache Configuration Files: Located in
/etc/apache2/. - Document Root: The default root directory is
/var/www/html/. Place your website files here. - Start, Stop, and Restart Apache:
sudo systemctl start apache2sudo systemctl stop apache2sudo systemctl restart apache2
- Apache Configuration Files: Located in
Installing Apache WebServer on Ubuntu is a straightforward process that involves updating your system, installing Apache, and configuring basic settings. By following these steps, you’ll have a reliable web server up and running, ready to host your web applications.
Now, you can check that webserver is running by visiting its home page as http://localhost OR http://YOUR_IP in browser
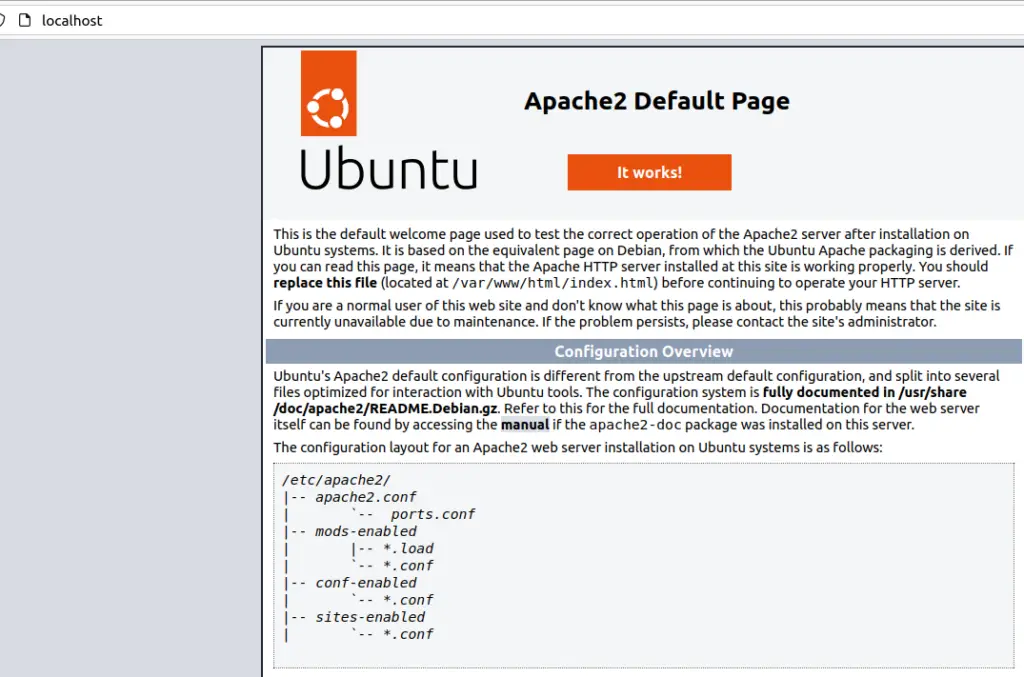
So, this html index page displayed comes from /var/www/html on your machine, and you can check it as,
$ tree /var/www/html/
/var/www/html/
└── index.html

0 directories, 1 file
Now, if you want to have some of your custom web page displayed from this local server, just copy that to /var/www/html and it will be accessible from the browser as localhost/custom_webpage.html
Note: If you have seen an error like “systemd[1]: Failed to start The Apache HTTP Server.” refer to our another post “Solved: systemd[1]: Failed to start The Apache HTTP Server.” to fix this error.
1 thought on “How to install Apache WebServer on Ubuntu ?”