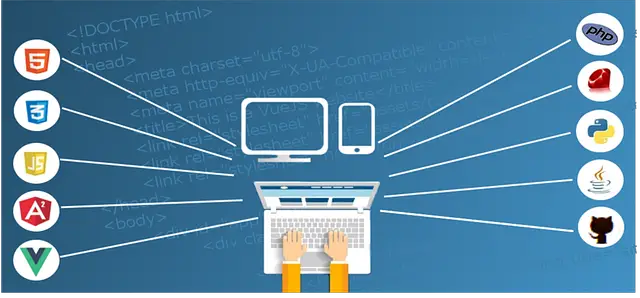
Building a website using open source software can be a powerful and cost-effective solution. Open source software provides flexibility, customization, and a strong community of developers. This guide will walk you through the process of developing a website using popular open source tools and platforms.
What is Open Source Software?
Open source software is software that is released with its source code freely available for anyone to view, modify, and distribute. This model encourages collaboration and innovation, allowing developers to build and improve upon existing software.
Benefits of Using Open Source Software:
- Cost-Effective: Most open source software is free to use.
- Customizable: Source code access allows for extensive customization.
- Community Support: Active communities provide support and contribute to development.
- Security: Transparency in source code can lead to better security practices.
Steps to Develop a Website Using Open Source Software
1. Choose the Right Open Source Software
Selecting the right tools and platforms is crucial for developing your website. Here are some popular open source software options for various aspects of web development:
- Content Management Systems (CMS):
- WordPress: A versatile CMS with a vast ecosystem of themes and plugins.
- Drupal: Known for its flexibility and robust content management features.
- Joomla!: User-friendly with strong extension support.
- Web Frameworks:
- Laravel: A PHP framework that offers elegant syntax and powerful features.
- Django: A Python framework known for its simplicity and speed.
- Ruby on Rails: A Ruby framework that emphasizes convention over configuration.
- Front-End Libraries:
- Bootstrap: A CSS framework for developing responsive and mobile-first websites.
- Foundation: A responsive front-end framework with customizable components.
- Vue.js: A progressive JavaScript framework for building user interfaces.
2. Set Up Your Development Environment
Before starting development, set up your development environment. This typically includes:
- Local Development Server: Tools like XAMPP or MAMP can help you run a local server environment for testing.
- Code Editor: Use editors like Visual Studio Code, Sublime Text, or Atom to write and manage your code.
- Version Control: Implement version control with Git to track changes and collaborate with others.
3. Design Your Website
Design is an essential part of website development. Here’s how to approach it:
- Wireframing: Create wireframes to outline the basic layout and structure of your website.
- Design Mockups: Use design tools like Figma or Adobe XD to create detailed mockups.
- Responsive Design: Ensure your website design is mobile-friendly and works well on various devices.
4. Develop the Website
With your design in place, start developing your website using open source software:
- Install and Configure Your CMS: Set up your chosen CMS on your local development server. Customize themes and install necessary plugins or modules.
- Build Features and Functionality: Use open source frameworks or libraries to add custom features, such as contact forms, e-commerce capabilities, or interactive elements.
- Front-End Development: Implement your website’s design using HTML, CSS, and JavaScript. Utilize front-end libraries to streamline development.
5. Test Your Website
Testing is crucial to ensure your website functions correctly and provides a good user experience:
- Cross-Browser Testing: Verify that your website works across different browsers (Chrome, Firefox, Safari, Edge).
- Mobile Testing: Ensure your website is responsive and functions well on mobile devices.
- Performance Testing: Use tools like Google PageSpeed Insights or GTmetrix to analyze and improve website performance.
6. Deploy Your Website
Once testing is complete, it’s time to deploy your website to a live server:
- Choose a Hosting Provider: Select a hosting provider that supports your chosen software stack.
- Upload Files: Transfer your website files to the hosting server using FTP or a deployment tool.
- Configure DNS: Set up your domain name and configure DNS settings to point to your hosting server.
7. Maintain and Update Your Website
After deployment, ongoing maintenance is essential:
- Regular Updates: Keep your software, themes, and plugins updated to ensure security and functionality.
- Backup: Regularly back up your website to prevent data loss.
- Monitor Performance: Continuously monitor website performance and user feedback to make improvements.
Developing a website using open source software offers numerous advantages, including cost savings, flexibility, and community support. By selecting the right tools, setting up a proper development environment, designing effectively, and following best practices for development and maintenance, you can create a powerful and successful website.
Start your web development journey with open source software and leverage the vast resources available to build a website that meets your needs and exceeds your expectations.
