Page speed is a crucial factor in enhancing user experience and improving search engine rankings. One of the easiest and most effective ways to improve your website’s loading speed is by enabling GZIP compression. This technique reduces the size of your website’s files, making them faster to download, which leads to quicker page loads. In this guide, we’ll explore what GZIP compression is, how it works, and how to enable it on your web server.
What is GZIP Compression?
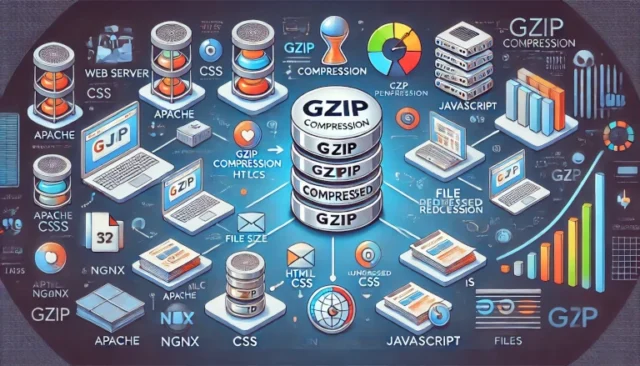
GZIP compression is a server-side technique that compresses website files (HTML, CSS, JavaScript) before they are sent to the browser. Smaller files mean less data to transfer, reducing load times significantly.
Think of it as zipping a file on your computer to make it smaller. The browser then decompresses the files automatically, so the process is seamless for users.
How GZIP Compression Works
- When a user requests a web page, the browser tells the server it supports GZIP compression via the Accept-Encoding header.
- The server compresses the files and sends them back to the browser with a Content-Encoding: gzip header.
- The browser decompresses the files and renders the page.
This process happens in milliseconds, improving performance without compromising quality.
Benefits of Enabling GZIP Compression
- Faster Page Loads: Compressed files reduce bandwidth usage, leading to quicker downloads.
- Improved User Experience: Faster websites keep visitors engaged and reduce bounce rates.
- SEO Boost: Google considers page speed a ranking factor, so enabling GZIP can improve your search engine rankings.
How to Enable GZIP Compression
Enabling GZIP compression depends on the type of web server you’re using. Here’s how you can do it for popular servers:
1. For Apache Web Server
- Ensure the
mod_deflatemodule is enabled. Check by running:apachectl -M | grep deflate - Add the following lines to your
.htaccessfile or Apache configuration file:
<IfModule mod_deflate.c>
    AddOutputFilterByType DEFLATE text/html text/plain text/xml
    AddOutputFilterByType DEFLATE text/css application/javascript
    AddOutputFilterByType DEFLATE application/json application/xml
    AddOutputFilterByType DEFLATE font/ttf font/otf font/x-woff
    AddOutputFilterByType DEFLATE image/svg+xml
</IfModule>
Restart Apache,
sudo service apache2 restart
2. For Nginx Web Server
- Add the following configuration to your
nginx.conffile inside thehttpblock
gzip on;
gzip_types text/plain text/css application/json application/javascript text/xml application/xml application/xml+rss;
gzip_min_length 1000;
gzip_vary on;- Restart Nginx:
sudo service nginx restart3. For IIS (Windows Server)
- Open the IIS Manager.
- Navigate to Compression in the IIS settings.
- Enable Static Content Compression and Dynamic Content Compression.
- Restart the IIS server to apply changes.
Verify GZIP Compression is Enabled
To confirm that GZIP compression is working:
- Use an online tool like GZIP Compression Test or Check GZIP Compression.
- Open the browser’s Developer Tools (F12) and check the Network tab:
- Look for the Content-Encoding: gzip header in the server response.
Common Issues and Solutions
- GZIP Not Enabled on Server:
- Verify the server configuration and restart the service.
- Incompatible Files:
- Ensure only compressible files (text, CSS, JavaScript) are included.
- Performance Degradation:
- Avoid compressing already compressed files like images (use formats like JPEG or PNG).
Enabling GZIP compression is a simple yet effective way to improve your website’s speed and user experience. With faster loading times, your site will not only retain visitors but also gain better search engine rankings. Whether you’re using Apache, Nginx, or IIS, enabling GZIP is straightforward and yields immediate benefits.
Start today and give your website the speed boost it deserves!

1 thought on “Boost Your Website Performance: Enable GZIP Compression”