Its been quite a sometime, we were looking for some software which can act as a front end to Amazon SES, we came across Sendy , but for some reason we couldn’t get this due to our limited budget and started looking for opensource frontend for SES and thus got to know about Mautic.
Here, we will try to show you how you can install the mautic and configure it with Amazon SES on shared hosting.
1. Download the zip from mautic https://www.mautic.org/download/
2. Extract the zip on your local PC and then using FTP upload all the contents to your shared hosting directory, lets say you want to get this working at http://mywebsite.com/mautic
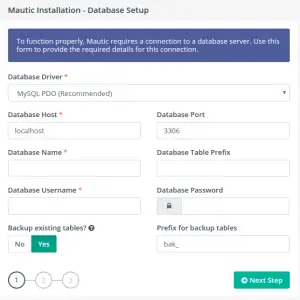
3. Once all files are uploaded to FTP and you have mysql database, username & password created from cPanel, fill those details into the form like below opened during installation at second step,

Now, once you have completed the installation and are ready to configure the Mautic, we need to get the Amazon SES SMTP credentials, right now, we assume you have already Amazon SES account and setup all the things, if not, please follow https://docs.aws.amazon.com/ses/latest/DeveloperGuide/send-email-smtp.html and create the account at Amazon SES and configure as mentioned in AWS document.
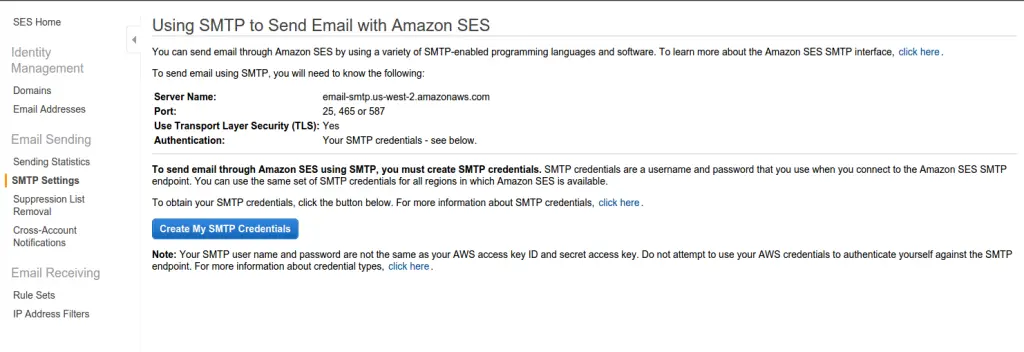
Now, login to you Amazon SES account, and from “Email Sending” , click on “SMTP Settings” , you will get a screen like below,

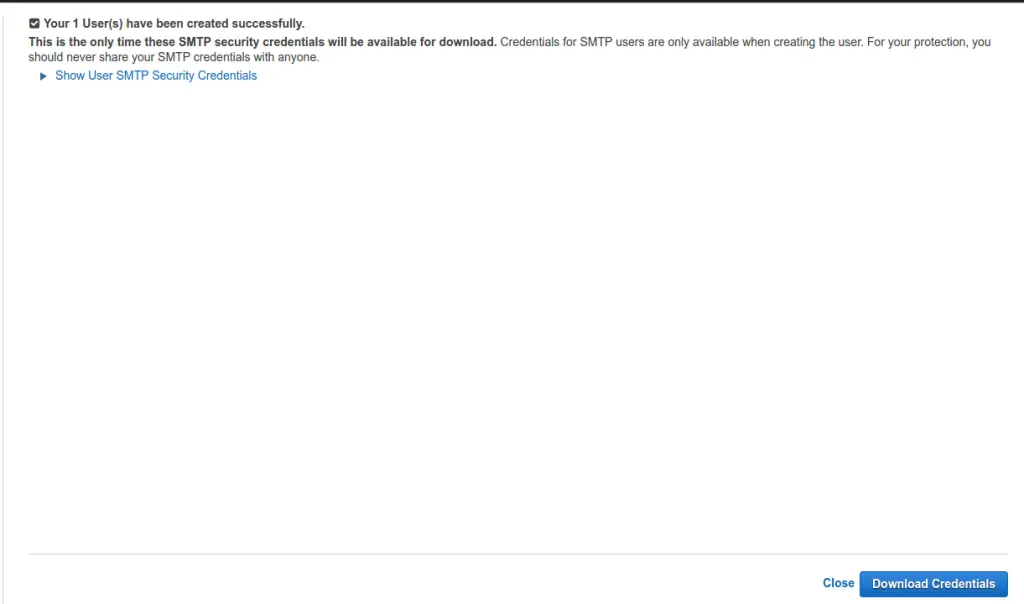
From this, click “Create My SMTP Credentials” , you will be take to a new page, where you can rename the default username to something which you can identify and click “Create” , you will be taken to a page like below,

You can either click on the ” Show User SMTP Security Credentials ” or click “Download Credentials” to get a file which can be opened in xls to get the details of newly created SMTP username and SMTP password, which you need to enter into mautic.
Now, you are all set to configure you mautic with the Amazon SES, login to Dashoboard from link , http://www.mywebsite.com/s/dashboard,
Then check to “Top, Right” corner, you will see the “Settings Wheel”, click the same, then “Configuration” , then “Email Settings” , you will seen a new page with option “Mail Send Settings”, here you will need to do settings like below image and enter the SMTP username and password, your created above,

Now, you should be seeings everything once you click “Test Connection” and it should show “Success” right ?
But wait, Did you got the error like, ” Starting Swift_SmtpTransport !! Connection could not be established with host email-smtp.us-west-2.amazonaws.com [Connection timed out #110] “
Something went wrong…. right, despite you followed all steps I mentioned above ? Don’t worry.. as mentioned in the post itself we are doing this configuration on shared hosting, so not everything is in our control, so now you need to talk to your hosting provider and get port “587” opened,
Our discussion with our hosting provider went like this,
me: Hello, I have installed https://www.mautic.org which uses Amazon SES for sending emails
me : Amazon SES requires Port: 25, 465 or 587
me : so when I tried to do settings, currently its failing
me : so want to know whether these ports are open or not ?
hosting provider : Hi, We have opened port 587 now, you can try again.
Once this is set, just click “Test Connection” and you should see “Success” … All Set to send Emails to your customers 🙂
Hope this will help you … Do leave your comments .. Enjoy
Thank for this tutorial. I tried setting up Mautic 2.1 by choosing Amazon SES from the pre-config dropdown. And… that didn’t work. I have a site setup with Sendy and SES, so I’m basically familiar with SES by now… but still, things just weren’t working.
Then, I found this tutorial and thought, let me follow these instructions and setup the connection using OTHER SMTP server and see what happens. Everything went fine, but it timed out using port 465. Why did I choose 465? Who knows? I then changed it to 587 like you show in the example above and everything works now.
Thank you for taking the time to make this tutorial!
Good to know, its working 🙂
Thank you very much! Simply and understandable tutorial!