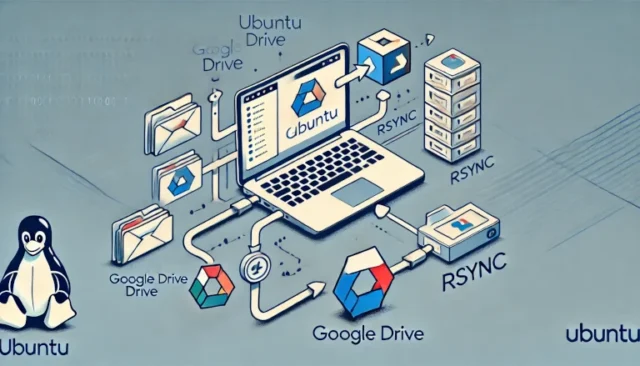
To mount Google Drive on Ubuntu Linux and sync local data to a Google Drive folder using rsync, you can use tools like rclone to create the mount. Here’s a step-by-step guide:
Step 1: Install rclone
First, install rclone if it’s not already installed. rclone is a popular tool for managing cloud storage on Linux.
sudo apt update
sudo apt install rclone -y
Step 2: Configure rclone for Google Drive
- Run the
rclone configcommand to set up Google Drive:rclone config - Follow the prompts to create a new remote for Google Drive:
- Type
nto create a new remote. - Name the remote (e.g.,
gdrive). - Select
driveas the storage type. - Follow the prompts to authenticate with your Google account.
rclonewill guide you through obtaining an authentication token from Google.
- Type
- Once configured, you can verify your setup by listing Google Drive contents:
rclone ls gdrive:(Replacegdrivewith whatever name you used for the remote.)
Step 3: Mount Google Drive
To mount Google Drive to a directory, use rclone mount. For this example, we’ll mount it to /mnt/gdrive.
- Create the mount point:
sudo mkdir /mnt/gdrive - Mount Google Drive using
rclone:rclone mount gdrive: /mnt/gdrive --daemon- The
--daemonoption allows the mount to run in the background. - Replace
gdrivewith your remote name if different.
sudo. - The
- Confirm that Google Drive is mounted by listing the contents of the directory:
ls /mnt/gdrive
Step 4: Use rsync to Sync Data to Google Drive
Now that Google Drive is mounted, you can use rsync to copy or synchronize data to it.
For example, to sync a local directory (e.g., /path/to/local/data) to a Google Drive folder (e.g., /mnt/gdrive/backup), use:
rsync -avh /path/to/local/data/ /mnt/gdrive/backup
- Options Explained:
-a: Archive mode, which preserves permissions, timestamps, and symlinks.-v: Verbose, so you can see what’s being transferred.-h: Human-readable output.
Step 5: Unmount Google Drive
When you’re finished, you can unmount Google Drive with:
fusermount -u /mnt/gdrive
or
sudo umount /mnt/gdrive
Automating the Process (Optional)
To automate the syncing process, you can add this setup to a cron job.
For example, to sync every night at midnight, you could add this line to your crontab:
crontab -e
Then add:
0 0 * * * /usr/bin/rclone mount gdrive: /mnt/gdrive --daemon && /usr/bin/rsync -avh /path/to/local/data/ /mnt/gdrive/backup && /usr/bin/fusermount -u /mnt/gdrive
This approach mounts Google Drive, syncs your data, and then unmounts it.
