Google Site Kit is a powerful plugin for WordPress that integrates various Google services, including Analytics, Search Console, AdSense, and PageSpeed Insights, into your WordPress dashboard. This plugin simplifies website management and provides valuable insights to optimize your site’s performance. In this guide, we’ll walk you through the steps to install and configure the Google Site Kit plugin for WordPress.
Google Site Kit plugin for WordPress provides following Google Services details in your website’s dashboard.
- Search Console
- Analytics
- AdSense
- PageSpeed Insights
- Tag Manager
- Optimize
How to install Google Site Kit ?
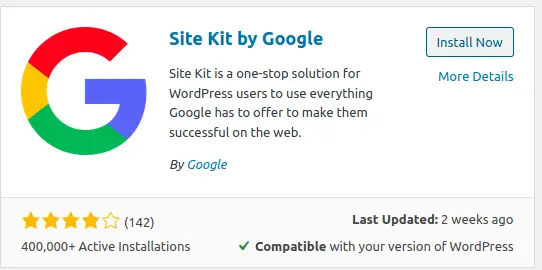
Since Google Site Kit plugin is free for all, it can be installed from WordPress plugin section. For this, login to your website’s admin account and then from left side bar, “Plugins” -> “Add New” and in “Search Plugin” type “Google Site Kit” and when you see a plugin like as below, click on “Install Now”

How to Configure Google Site Kit ?
After installation is successful, click on “Activate” to activate this plugin. After you activated this , you will see “Site Kit” setting got added left sidebar, Click on “Site Kit” -> Dashboard

Click on “Start Setup” to start the configuration. You will be asked to login to your Gmail. Here, please note you have to login to only that gmail id which you have used to configure your website’s Google Analytics (How to add Google Analytics to track visitors to website ?) and Google Webmaster. ( How to add a website to google search console / webmaster ? )

After you signin, you will be asked to allow necessary permission to access the analytics data, once you allow the same, it will verify your website’s ownership and you are all set as below,

Once you click on “Go to my Dashboard” it will redirect to Analytics dashboard which shows you have successfully configured “Search Console” now you can follow similar steps to connect your “Adsense” and “Analytics” services from below dashboard.
