WordPress is very powerful and Popular software for developing the websites. The most important reason why it became so powerful apart from its opensource and free code is its modular architecture which allows people do develop their Look and Feel or User Interface to the website and add it as just like a module. This new UI is called as Themes in WordPress.
So, here we describe the steps you can do to install new theme by changing the default installed theme when we installed the WordPress for the first time as mentioned in “How to install WordPress on Shared Hosting ?”
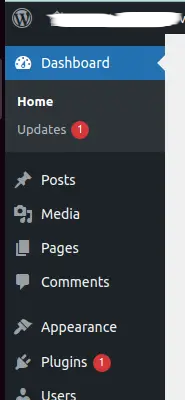
Login to your website’s dashboard, and check for “Appearance” menu from left sidebar as seen below.
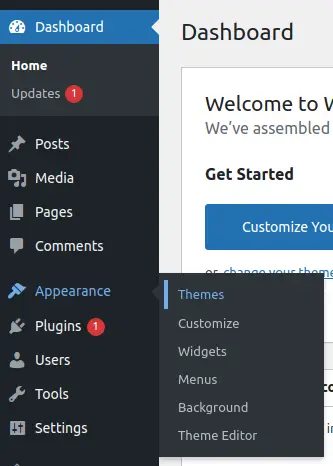
Click on “Appearance -> Themes” option as below,
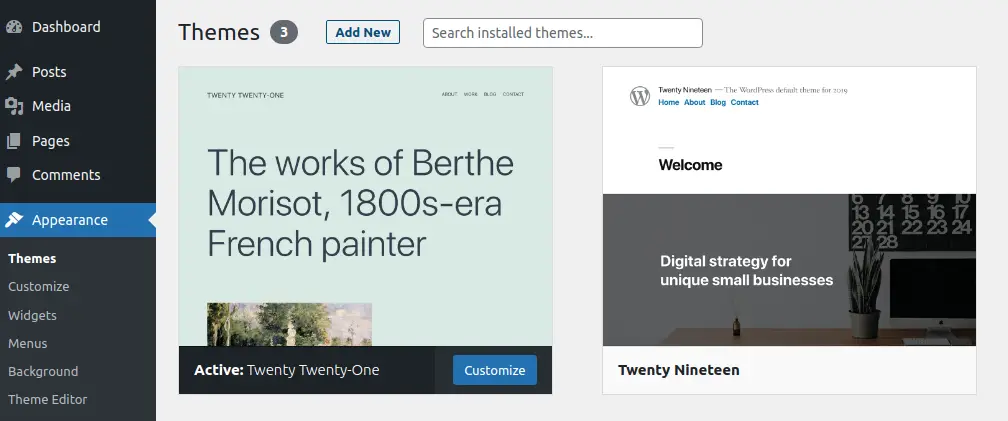
When we open the themes option from sidebar, the next opened page will show us, which is the currently installed theme. So for our current setup, “Twenty Twenty-One” is the active installed theme. Now as we need to change this, we need to click on “Add New” button.
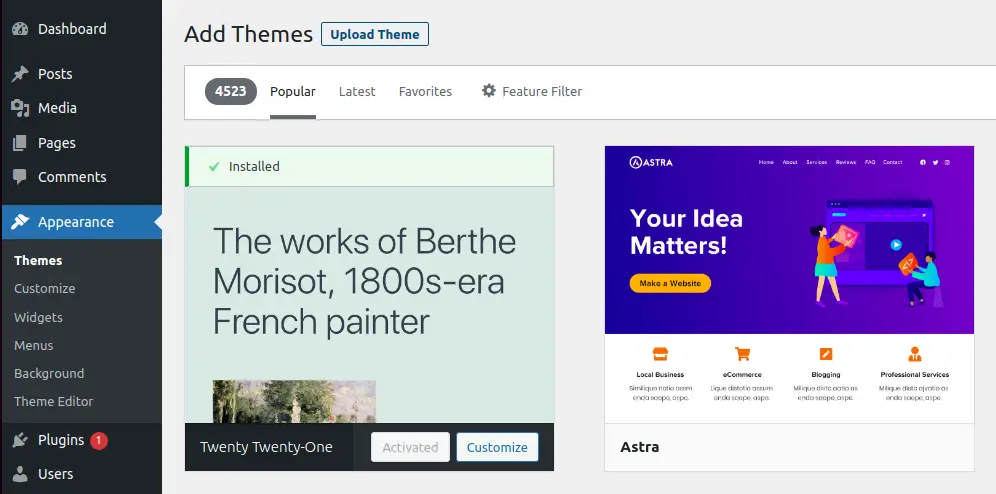
Once we click “Add New”, on the next page, we will see lots of free available themes, which you can choose any one you like to install OR there is also an option to upload the new theme source code from your Desktop / Laptop computer by using “Upload Theme” button.
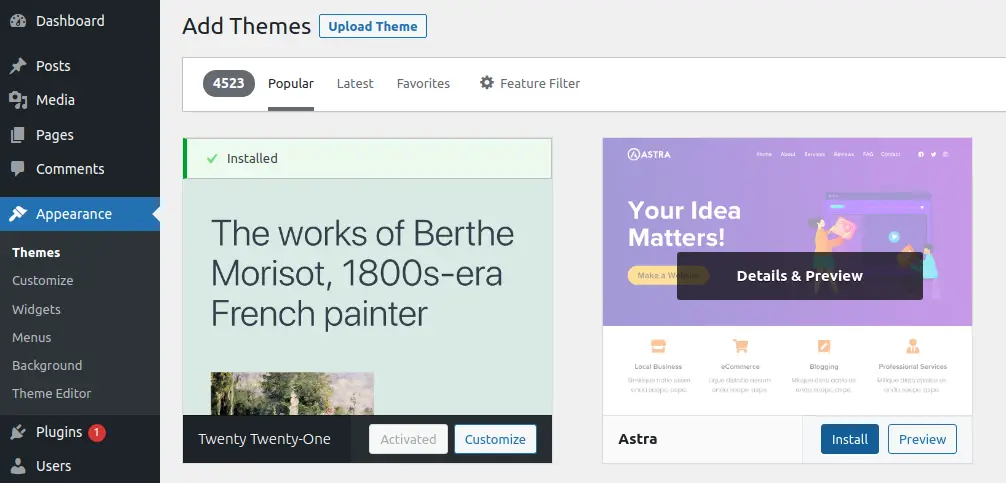
But in this post, we will try to install the already available free theme as seen in the listing. Here now we want to install the “Astra” theme which we see in “Popular” tab of themes. So click on it.
Once clicked, it will show an option to look for preview of how your website would look like if you install this theme. You can choose to check the preview or click on “Install”
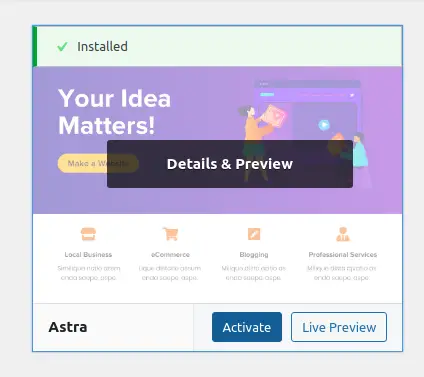
Now, the theme is installed, but we need to do one more last step i.e. to activate this installed theme, so it can replace the previously active theme and we see the new theme’s UI for our website.
So, click on “Activate” and check your website’s home page to verify your newly installed theme is functional.
