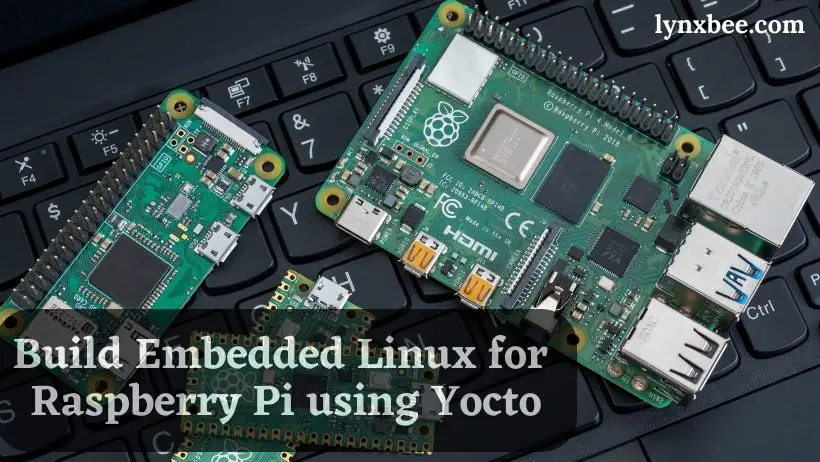
Building complete Linux operating system for embedded devices was a complicated task requiring investment with both time and money for many years. Thanks to Yocto, this task of compiling individual component, software’s and building complete embedded Linux operating system, has been made much simpler by it.
In this post, we will demonstrate, how you can follow just simple steps and build embedded Linux for Raspberry Pi.
For proceeding to this post: Setting up ubuntu development machine for Yocto is a prerequisite and make sure you have all those packages installed in Ubuntu.
Note: This compilation is done for Yocto 2.6 i.e codenamed “thud” which is last known stable version available for RaspberryPi. Although currently Yocto 2.7 (codename – warrior) is available with Poky but meta-raspberrypi with “warrior” branch is not available.
Now, lets clone the poky and raspberry Pi metadata as,
$ mkdir workspace $ cd workspace $ git clone git://git.yoctoproject.org/poky $ cd poky $ git checkout -b thud origin/thud $ cd workspace $ git clone git://git.yoctoproject.org/meta-raspberrypi $ cd meta-raspberrypi $ git checkout -b thud origin/thudNow, we will have to initialize the environment variables to start compilation for kernel and filesystem as,
$ cd workspace/poky $ source oe-init-build-envAbove command will initialize environment variables and create build directory and will go inside this build directory. The tree structure of the newly created “build” directory is like,
$ tree build/
build/
└── conf
    ├── bblayers.conf
    ├── local.conf
    └── templateconf.cfg

1 directory, 3 files
Now, we need to change bblayers.conf to add the path of meta-raspberrypi layer, hence open this file and append the path of meta-raspberrypi layer like below,
$ vim conf/bblayers.confBBLAYERS ?= " \
/home/myuser/workspace/poky/meta \
/home/myuser/workspace/poky \
/home/myuser/workspace/poky/meta-yocto-bsp \
/home/myuser/workspace/meta-raspberrypi \
"Next, we need to edit “conf/local.conf” to add Raspberry Pi as machine,
$ vim conf/local.confand append following string,
MACHINE = "raspberrypi3"Now, lets start the compilation which will create the complete binary images required to boot Raspberry Pi,
$ bitbake core-image-minimal