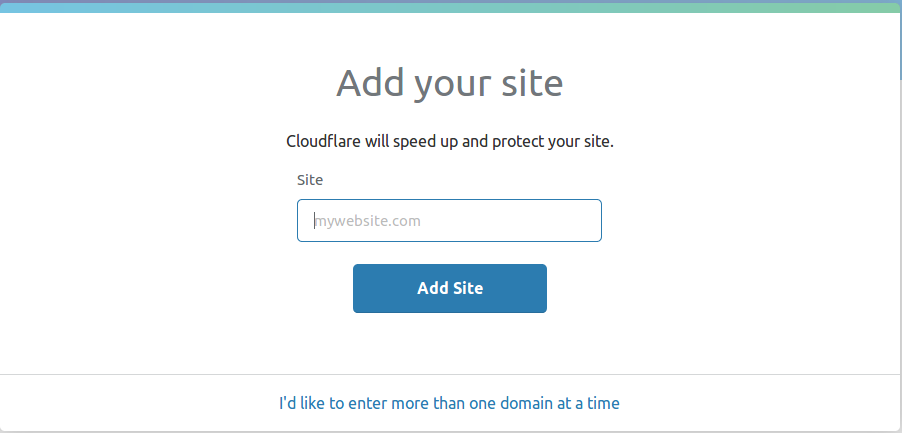
Visit – https://dash.cloudflare.com/sign-up and signup to create an account. Once you are able to login to cloudflare dashboard, you will be first asked to add your website as below. Enter your site URL and click “Add Site”
When asked for “We are querying your DNS records” click “Next”. This will redirect to select price plan, as you are getting started, its better to select “Free” plan and based on actual services required, you can later switch to pro plans as required.
On the next page, you will be shown auto queried DNS records, make sure to verify all records are correct and if you have any subdomains and those has been missed from auto query, you can add those “Add record” tab. and click “Continue”
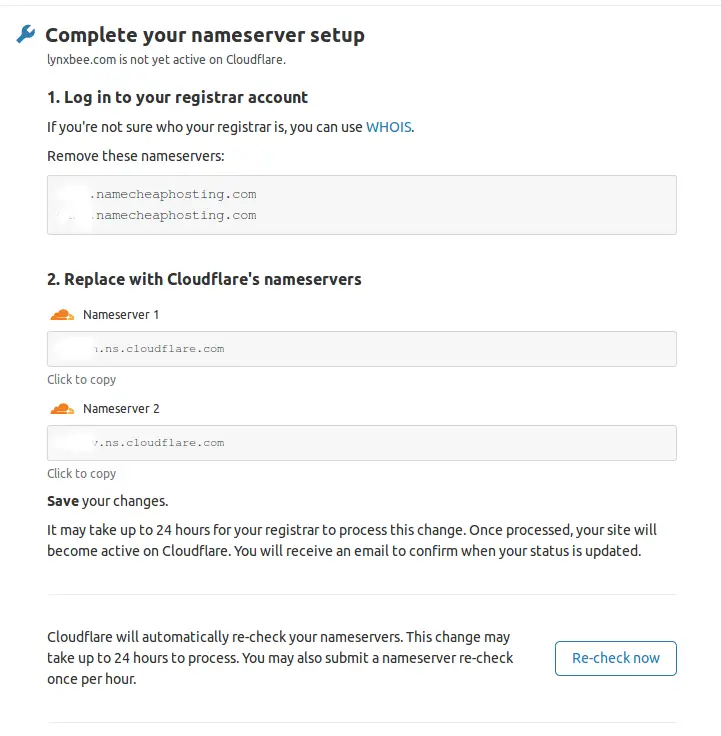
On the next page, you will be asked to change the nameservers of your hosting service provider with the cloudflare nameservers. This will authenticate your website also and configure to use cloudflare CDN to serve your website through cloudflare servers. To change nameservers from your domain, you need to login to domain registrar website ( like godaddy or namecheap ) and from that particular domain settings, select “custom nameservers” and add what has been shown on cloudflare dashboard.