To use google fonts into your website / html, you just need to follow below steps,
To start with read the google font getting started guide from https://developers.google.com/fonts/docs/getting_started
We will take the same html example as mentioned in getting started guide and modify to change it to various different google fonts,
Copy and paster below code into /var/www/html/test-google-font.html [Note: we copied to /var/www/html/ since we had local apache server installed on our machine for development, if you are working on shared hosting etc, you will need to upload to website root folder or whereever you want to test ]
$ sudo vim /var/www/html/test-google-font.html<html>
<head>
<link rel=”stylesheet” type=”text/css” href=”http://fonts.googleapis.com/css?family=Tangerine”>
<style>
body {
font-family: ‘Tangerine’, serif;
font-size: 48px;
}
</style>
</head>
<body>
<div>Making the Web Beautiful!</div>
</body>
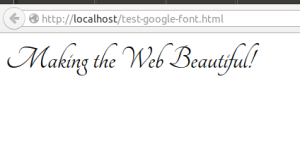
</html>Now, open a browser and type http://localhost/test-google-font.html ,
this will open a page like below,

Now, lets say you want to change the font to something else, here you can also take a help of typecast to verify how certain font looks like in runtime, typecast url : http://typecast.com/preview/google
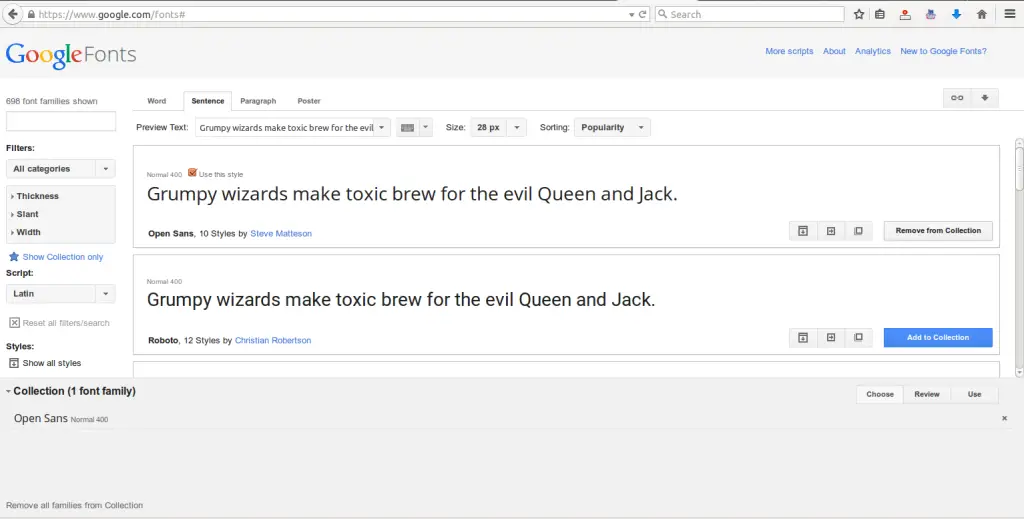
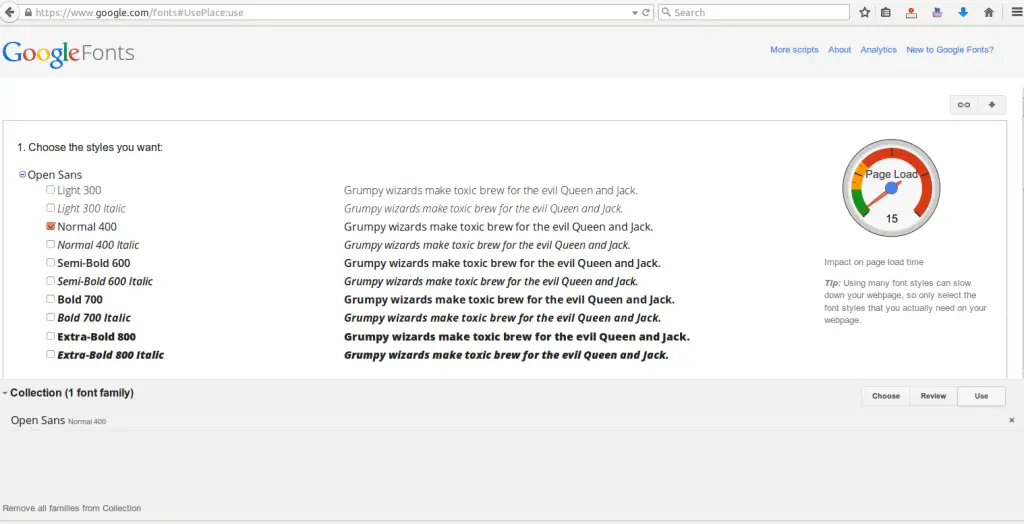
To change fonts, open google fonts URL https://www.google.com/fonts, browse to the font you want to be used in your html code, for ex. you want to try “Open Sans” i.e. the first font shown on the homepage of google fonts URL, then click “Add to Collection”from right side of row, once that’s clicked, a window like below opens

