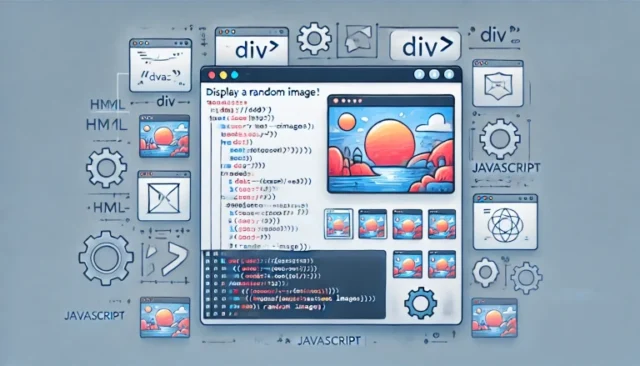
Adding dynamic elements to a website enhances user engagement and interactivity. One such feature is to display random image on page refresh using HTML and JavaScript. This functionality is widely used for creating visual interest, such as random banners, inspirational quotes, or product highlights. In this detailed guide, we will show you how to set up a random image display, explain how it works, provide the necessary source code, and address common issues you might encounter. Whether you’re a beginner or an experienced web developer, this tutorial will help you implement this feature effortlessly.
What Does “Display Random Image on Page Refresh” Mean?
When a webpage is refreshed, the displayed image changes randomly from a predefined set of images. This feature is achieved using JavaScript to select an image randomly from an array and render it dynamically on the webpage.
How It Works
The functionality combines HTML, CSS, and JavaScript. Here’s a brief overview of the process:
- HTML provides the basic structure of the webpage.
- CSS is optionally used for styling the image display.
- JavaScript contains the logic for selecting a random image from a list and updating the webpage dynamically.
Steps to Display Random Image on Page Refresh
Step 1: Create the Basic HTML Structure
Set up your HTML file with a container to display the random image. For example:
<!DOCTYPE html>
<html lang="en">
<head>
    <meta charset="UTF-8">
    <meta name="viewport" content="width=device-width, initial-scale=1.0">
    <title>Random Image Display</title>
    <style>
        body {
            text-align: center;
            margin: 0;
            padding: 0;
            font-family: Arial, sans-serif;
            background-color: #f4f4f4;
        }
        .image-container {
            margin-top: 50px;
        }
        img {
            max-width: 100%;
            height: auto;
            border: 2px solid #333;
            border-radius: 10px;
        }
    </style>
</head>
<body>
    <div class="image-container">
        <img id="randomImage" alt="Random Display">
    </div>
    <script src="script.js"></script>
</body>
</html>
Step 2: Write the JavaScript Logic
Create a separate script.js file or include the script within your HTML file. The JavaScript code selects a random image from a predefined list and updates the src attribute of the <img> tag.
// Array of image URLs
const images = [
    "image1.jpg",
    "image2.jpg",
    "image3.jpg",
    "image4.jpg",
    "image5.jpg"
];

// Select a random image
const randomImage = images[Math.floor(Math.random() * images.length)];

// Update the image source
const imageElement = document.getElementById("randomImage");
imageElement.src = randomImage;
Step 3: Add Images to Your Project
Ensure that the images referenced in the images array are present in your project folder or accessible via URL. Example structure:
project-folder/
├── index.html
├── script.js
├── image1.jpg
├── image2.jpg
├── image3.jpg
├── image4.jpg
├── image5.jpg
Step 4: Test the Implementation
Open the index.html file in a web browser. Refresh the page multiple times to see the displayed image change randomly.
Common Issues and Solutions
If the images are not loading, the likely cause is incorrect file paths in the images array. Verify that the file paths are correct relative to the HTML file location.
For JavaScript errors, check whether the script.js file is missing or incorrectly referenced. Ensure the script.js file is correctly linked in the HTML file.
If images appear too large or misaligned, the cause is likely missing CSS styles for image scaling and alignment. Use CSS properties like max-width, height, and margin to style the images.
Advanced Customization
Add image captions by including descriptive captions for each image using a data-caption attribute and dynamically updating a <p> tag below the image.
const captions = [
    "Caption for Image 1",
    "Caption for Image 2",
    "Caption for Image 3",
    "Caption for Image 4",
    "Caption for Image 5"
];

const randomIndex = Math.floor(Math.random() * images.length);
imageElement.src = images[randomIndex];
document.getElementById("imageCaption").textContent = captions[randomIndex];
Add transition effects by using CSS animations for smooth transitions when the image changes.
img {
    transition: opacity 0.5s ease-in-out;
}

img.hidden {
    opacity: 0;
}
Fetch images dynamically instead of using a static array by integrating an API to fetch image URLs dynamically.
Why Use Random Images on Refresh?
Displaying random images on refresh can increase engagement by keeping the content visually fresh for returning users. It highlights variety by showcasing multiple products, services, or promotions. Additionally, it enhances aesthetics by adding an element of surprise and creativity to the page.
Final Thoughts
Adding a feature to display random images on page refresh is a simple yet effective way to enhance user experience. By leveraging HTML, CSS, and JavaScript, you can implement this functionality in a few steps. Explore advanced customizations to make your implementation even more engaging and interactive.
