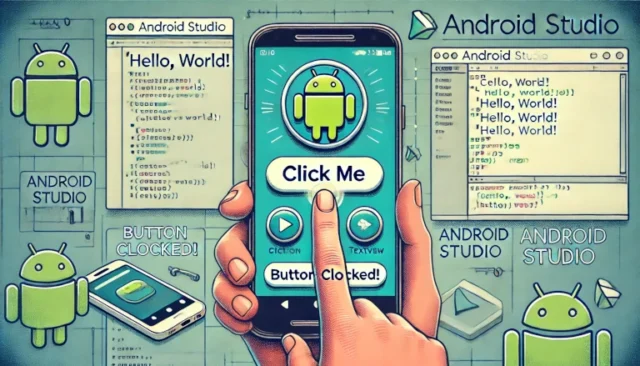
Creating an Android demo App with a simple button click event is an excellent way for beginners to dive into Android development. This fundamental concept also sets the stage for building more complex and interactive apps. In this guide, we’ll explore how to create a basic Android app with a button that performs an action when clicked.
What is an Android Demo Application with Button Click Event?
An Android demo application is a small, functional app designed to showcase specific features or learn a particular aspect of Android development. The button click event is one of the simplest and most commonly used events in Android, where clicking a button triggers a predefined action, such as displaying a message or navigating to a new screen.
How Does a Button Click Event Work in Android?
When a user clicks a button in an Android app:
- The Button widget detects the click.
- An OnClickListener attached to the button is invoked.
- The listener triggers the onClick() method, where you define the action to execute.
Example Action:
- Displaying a Toast message.
- Changing text in a TextView.
- Starting a new activity.
Step-by-Step Guide to Setting Up an Android Demo App
Follow these steps to create your first Android application with a button click event:
1. Set Up Your Development Environment
- Install Android Studio, the official IDE for Android development.
- Ensure you have the necessary SDK and emulator configurations.
2. Create a New Project
- Open Android Studio.
- Select File > New Project.
- Choose an Empty Activity and click Next.
- Name your project (e.g.,
ButtonClickDemo) and select a package name. - Click Finish to generate your project files.
3. Design the User Interface
- Open the
activity_main.xmlfile. - Add a Button and TextView to your layout using XML:
<RelativeLayout xmlns:android="http://schemas.android.com/apk/res/android"
    android:layout_width="match_parent"
    android:layout_height="match_parent">

    <Button
        android:id="@+id/buttonClick"
        android:layout_width="wrap_content"
        android:layout_height="wrap_content"
        android:text="Click Me"
        android:layout_centerInParent="true"/>

    <TextView
        android:id="@+id/textView"
        android:layout_width="wrap_content"
        android:layout_height="wrap_content"
        android:text="Hello, World!"
        android:layout_below="@id/buttonClick"
        android:layout_marginTop="20dp"
        android:layout_centerHorizontal="true"/>
</RelativeLayout>
4. Add Functionality with Java/Kotlin
- Open the
MainActivity.javaorMainActivity.ktfile. - Add an OnClickListener to handle the button click event.
Java Code:
import android.os.Bundle;
import android.view.View;
import android.widget.Button;
import android.widget.TextView;
import androidx.appcompat.app.AppCompatActivity;

public class MainActivity extends AppCompatActivity {
    @Override
    protected void onCreate(Bundle savedInstanceState) {
        super.onCreate(savedInstanceState);
        setContentView(R.layout.activity_main);

        Button button = findViewById(R.id.buttonClick);
        TextView textView = findViewById(R.id.textView);

        button.setOnClickListener(new View.OnClickListener() {
            @Override
            public void onClick(View v) {
                textView.setText("Button Clicked!");
            }
        });
    }
}
Kotlin Code:
import android.os.Bundle
import android.widget.Button
import android.widget.TextView
import androidx.appcompat.app.AppCompatActivity

class MainActivity : AppCompatActivity() {
    override fun onCreate(savedInstanceState: Bundle?) {
        super.onCreate(savedInstanceState)
        setContentView(R.layout.activity_main)

        val button: Button = findViewById(R.id.buttonClick)
        val textView: TextView = findViewById(R.id.textView)

        button.setOnClickListener {
            textView.text = "Button Clicked!"
        }
    }
}
Common Issues and Solutions
- Button Not Responding:
- Ensure you’ve set the correct
idfor your button in the XML layout. - Verify the
setOnClickListenercode is correctly implemented.
- Ensure you’ve set the correct
- App Crashes on Launch:
- Check for typos in
findViewByIdor missing references in the XML file.
- Check for typos in
- UI Layout Issues:
- Use Android Studio’s Design Editor to adjust margins and alignments.
Why Create a Demo App with Button Click Events?
- For Beginners: It’s an easy entry point into Android development.
- Reusable Code: Button click events are a foundational skill in building interactive apps.
- Scalability: Extend functionality like navigating to new activities or performing calculations.
Tools to Enhance Development
- Emulator: Test your app on various virtual devices.
- Logcat: Debug your app’s runtime behavior.
- Android Debug Bridge (ADB): Advanced testing and debugging.

2 thoughts on “Effortless Android: Create a Demo App with Button Click Magic”