
Setting up phpMyAdmin on Amazon EC2 Linux Instance allows you to manage MySQL databases effortlessly through a web-based interface. If you’re running a Linux EC2 instance, installing phpMyAdmin is a crucial step for developers and administrators. In this guide, you will learn how to install phpMyAdmin, configure it securely, and troubleshoot common installation issues.
What is phpMyAdmin?
phpMyAdmin is an open-source, web-based MySQL and MariaDB database management tool. It simplifies database management by offering an intuitive interface to perform tasks like:
🔹 Creating and managing databases and tables
🔹 Executing SQL queries
🔹 Importing and exporting database files
🔹 Managing user privileges and permissions
By installing phpMyAdmin on an AWS EC2 instance, you gain direct web-based database access instead of using command-line MySQL queries.
SSH to your AWS Linux 2 EC2 instance as mentioned in “How to access your AWS Linux instance using an SSH client ?” once you are SSH to AWS instance, type below commands to generate root password for mysql / mariadb
$ sudo mysql_secure_installationNOTE: RUNNING ALL PARTS OF THIS SCRIPT IS RECOMMENDED FOR ALL MariaDB
SERVERS IN PRODUCTION USE! PLEASE READ EACH STEP CAREFULLY!
In order to log into MariaDB to secure it, we’ll need the current password for the root user. If you’ve just installed MariaDB, and you haven’t set the root password yet, the password will be blank,
so you should just press enter here.
Enter current password for root (enter for none):OK, successfully used password, moving on…
Setting the root password ensures that nobody can log into the MariaDB root user without the proper authorisation.
Set root password? [Y/n] Y
New password:
Re-enter new password:
Password updated successfully!
Reloading privilege tables..
… Success!
By default, a MariaDB installation has an anonymous user, allowing anyone to log into MariaDB without having to have a user account created for them. This is intended only for testing, and to make the installation go a bit smoother. You should remove them before moving into a production environment.
Remove anonymous users? [Y/n] Y… Success!
Normally, root should only be allowed to connect from ‘localhost’. This ensures that someone cannot guess at the root password from the network.
Disallow root login remotely? [Y/n] YDisallow root login remotely? [Y/n] Y
… Success!
By default, MariaDB comes with a database named ‘test’ that anyone can access. This is also intended only for testing, and should be removed before moving into a production environment.
Remove test database and access to it? [Y/n] Y- Dropping test database…
… Success! - Removing privileges on test database…
… Success!
Reloading the privilege tables will ensure that all changes made so far will take effect immediately.
Reload privilege tables now? [Y/n] Y… Success!
Cleaning up…
All done! If you’ve completed all of the above steps, your MariaDB installation should now be secure.
Thanks for using MariaDB!
Installation of phpmyadmin
To install phpMyAdmin
Install the required dependencies.
$ sudo yum install php-mbstring -yRestart Apache.
$ sudo systemctl restart httpdRestart php-fpm.
$ sudo systemctl restart php-fpmNavigate to the Apache document root at /var/www/html
$ cd /var/www/htmlSelect a source package for the latest phpMyAdmin release from https://www.phpmyadmin.net/downloads. To download the file directly to your instance, copy the link and paste it into a wget command, as in this example:
$ wget https://www.phpmyadmin.net/downloads/phpMyAdmin-latest-all-languages.tar.gzCreate a phpMyAdmin folder and extract the package into it with the following command.
$ mkdir phpMyAdmin && tar -xvzf phpMyAdmin-latest-all-languages.tar.gz -C phpMyAdmin --strip-components 1Delete the phpMyAdmin-latest-all-languages.tar.gz tarball.
$ rm phpMyAdmin-latest-all-languages.tar.gzIf the MySQL server is not running, start it now.
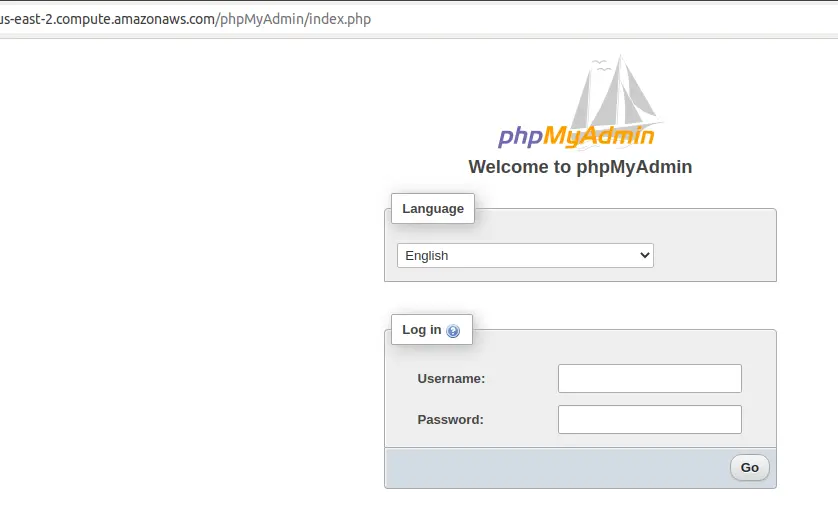
$ sudo systemctl start mariadbIn a web browser, type the URL of your phpMyAdmin installation. This URL is the public DNS address (or the public IP address) of your instance followed by a forward slash and the name of your installation directory. For example : http://my.public.dns.amazonaws.com/phpMyAdmin
You should see the phpMyAdmin login page:
Installing phpMyAdmin on an Amazon EC2 Linux instance makes database management effortless. Whether you’re a developer, administrator, or just starting, phpMyAdmin simplifies MySQL database operations through a user-friendly interface. By following these steps, you can ensure a smooth installation and troubleshoot common issues effectively.
Get started today and enhance your AWS cloud database management experience!